Fun & Easy DIY Festive Wind Chime
Vote For Me in The Rustoleum Creator Studio Contest
Rustoleum is one of my favorite products to work with and I was picked to create a festive and colorful project for their newest Creator Studio contest. I created a fun & easy DIY Summer Wind Chime. The items I used were paid for by Rustoleum and the idea was my own. Please check out all the details on their website, and if you would like to vote for me, just create an account and vote. I appreciate all the support and can’t wait to create another project for them.
How To Create Your Own Festive and Colorful Wind Chime
You may find most of the items you will need for this project already in your home. But just in case you don’t have them, here is a list of what you will need to create your own colorful wind chime.

Items Needed
- Washers in various sizes, you want a lot of them
- Rustoleum spray paint in 6 different colors
- Craft paper to paint on
- Yarn in 2 different colors
- Wooden craft loop, I used a 12” one
- Plastic beads (optional)
- Paper plates
Picking Out Your Colors
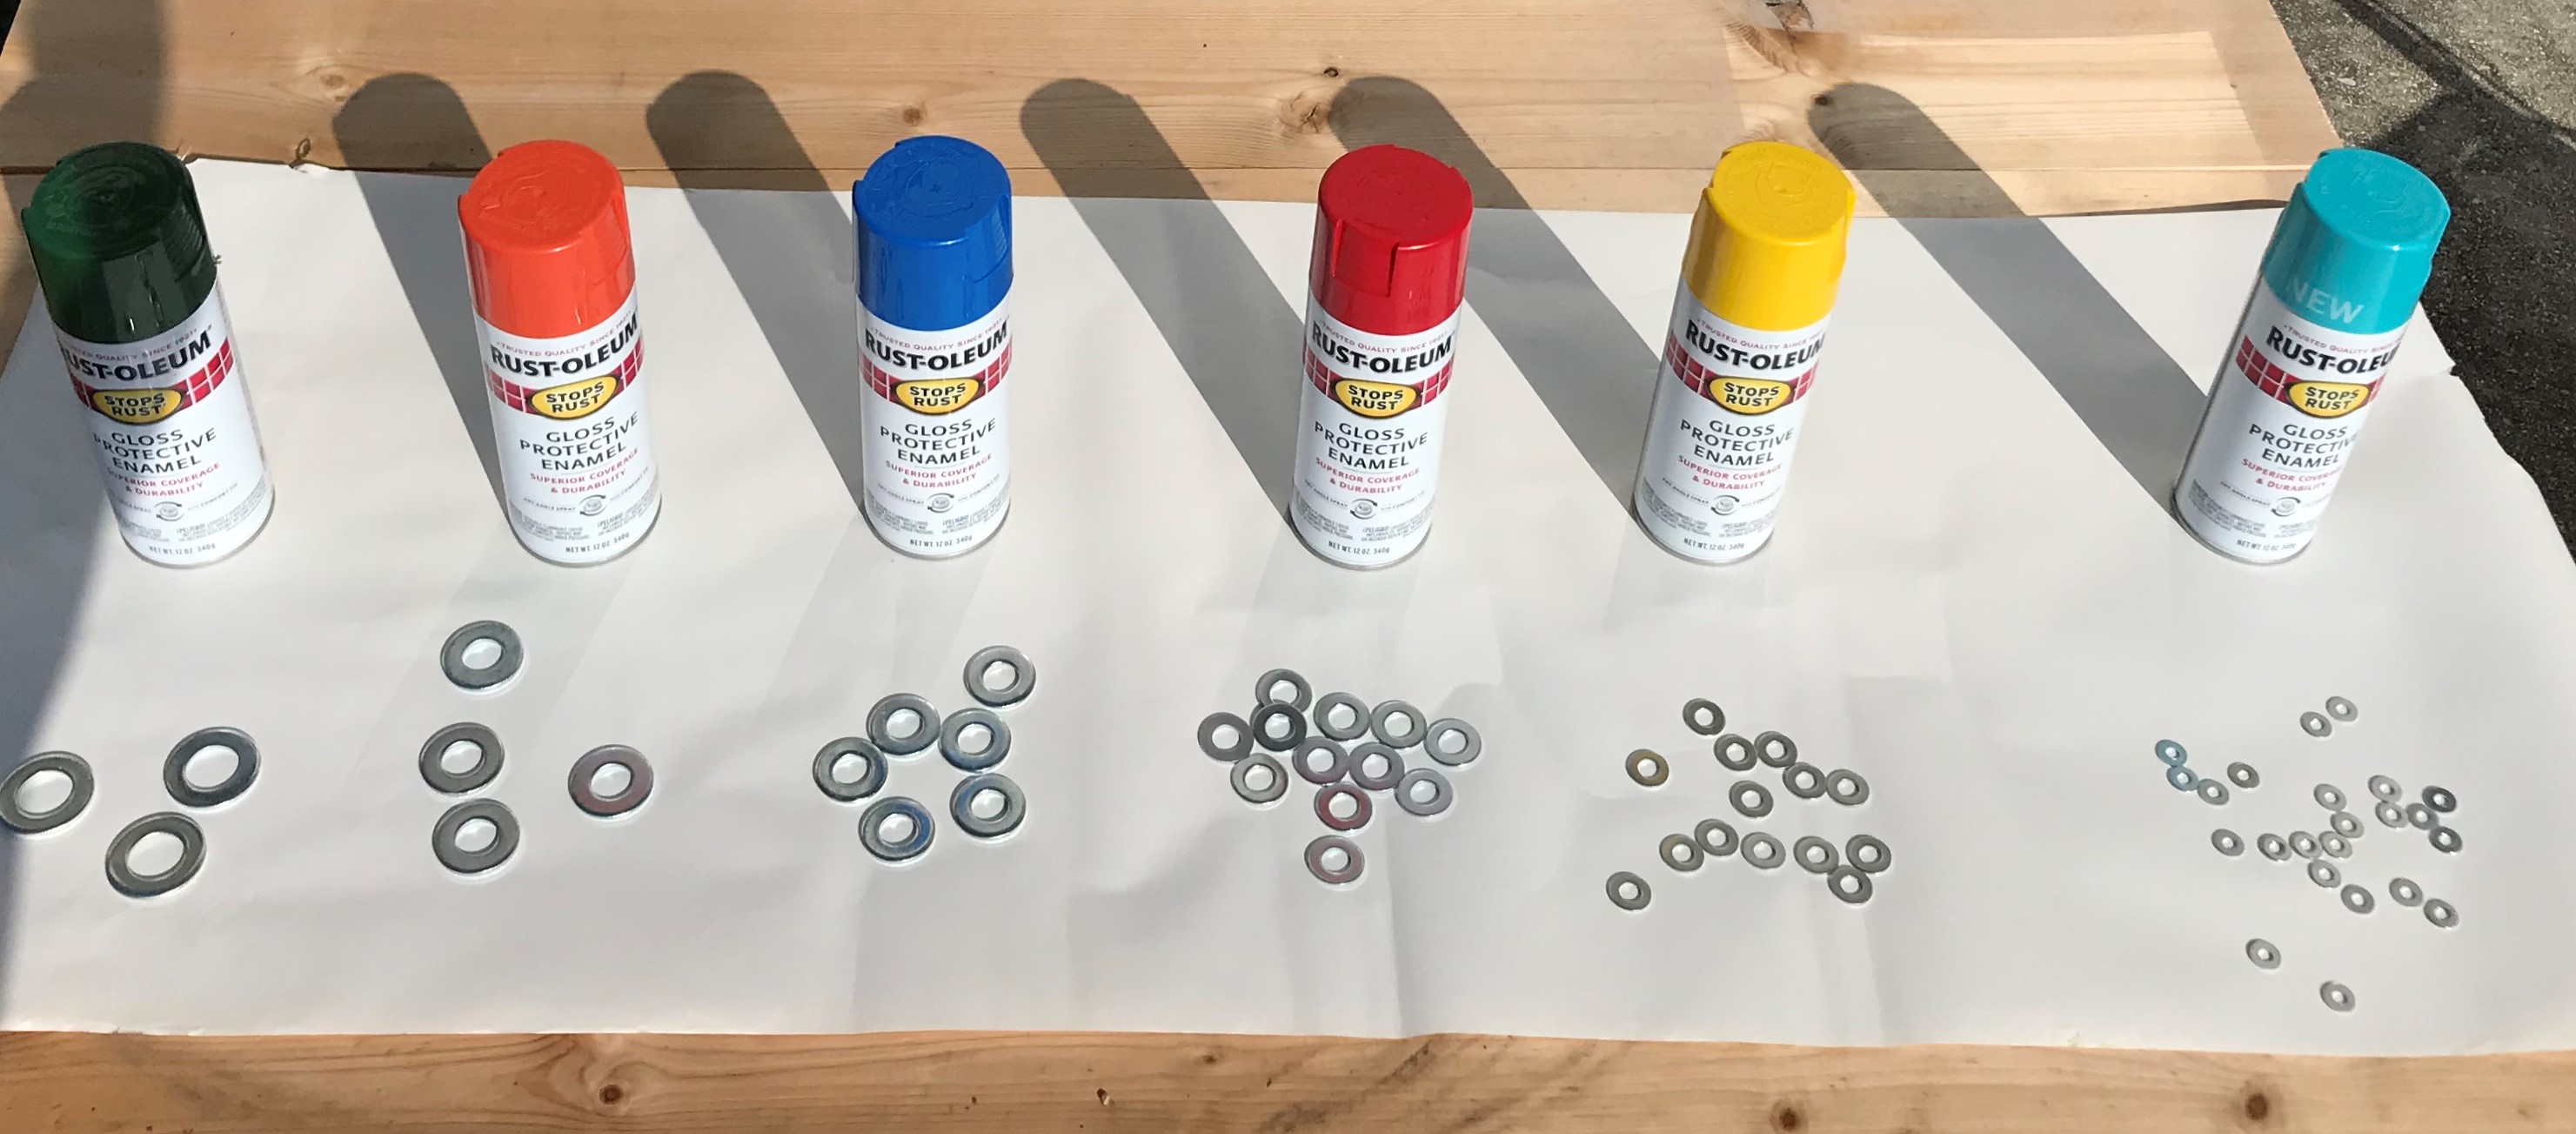
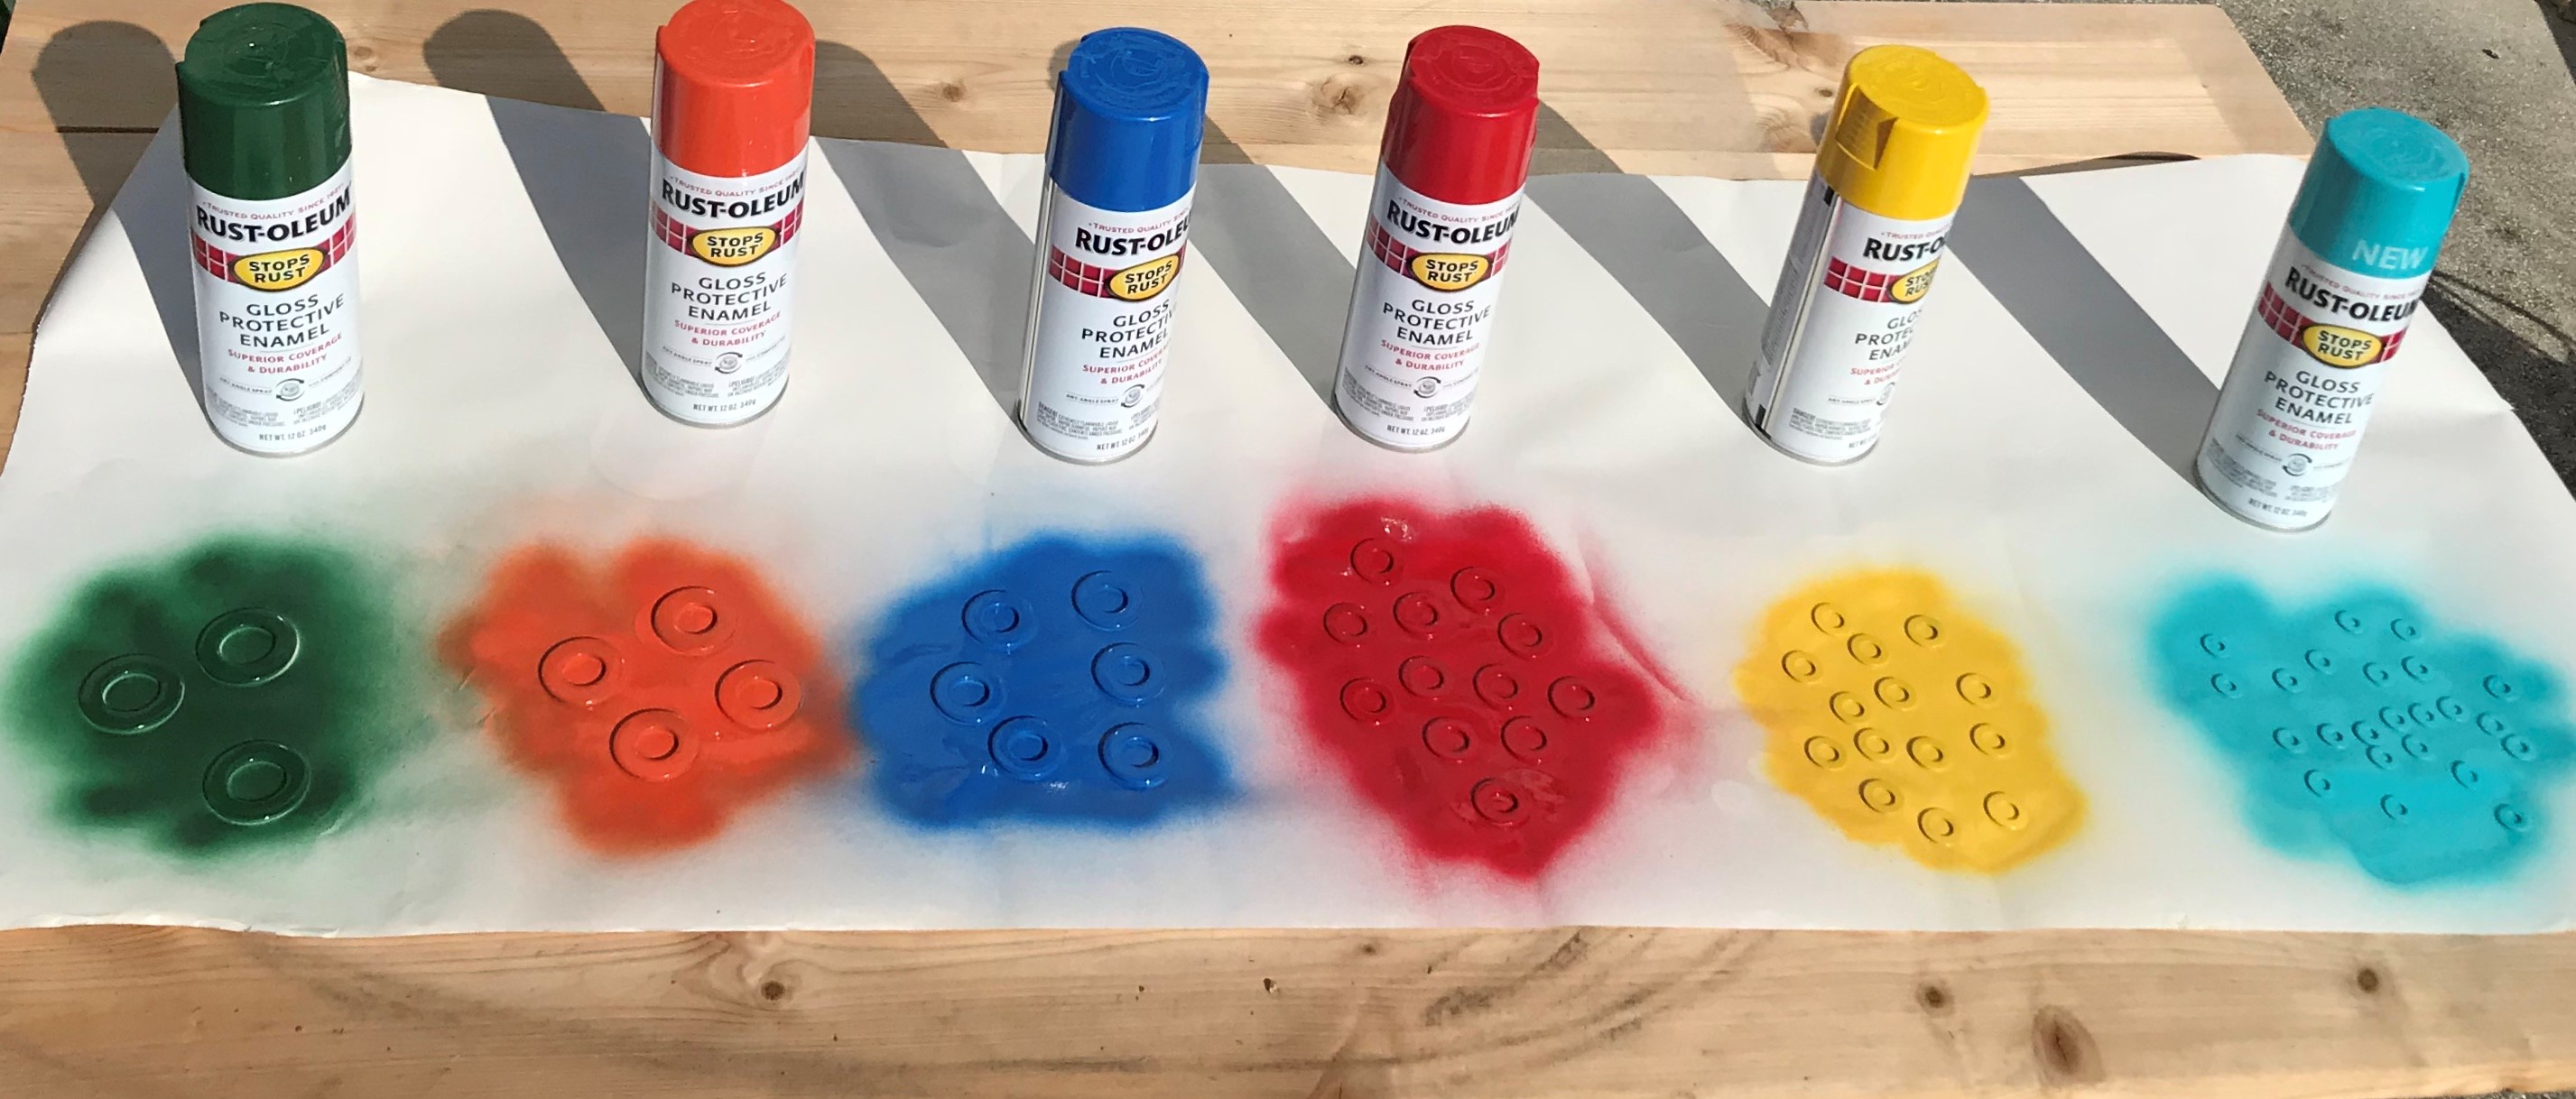
First, you will need six different colors of Rustoleum gloss spray paint, I used blue, green, red, orange, yellow and a turquoise blue. Next, lay your craft paper down and place your washers in a single layer on the craft paper.
Creating Some Colorful Washers
Spray one side of the washers with each color of the spray paint that is behind them. If it is hot outside, let them set for a little bit and then place them on a paper plate and bring them inside to dry, about 1 – 2 hours. Then the washers back outside place them back on the craft paper and spray the other side, follow the same steps.
Adding The Yarn, Beads, and Washers
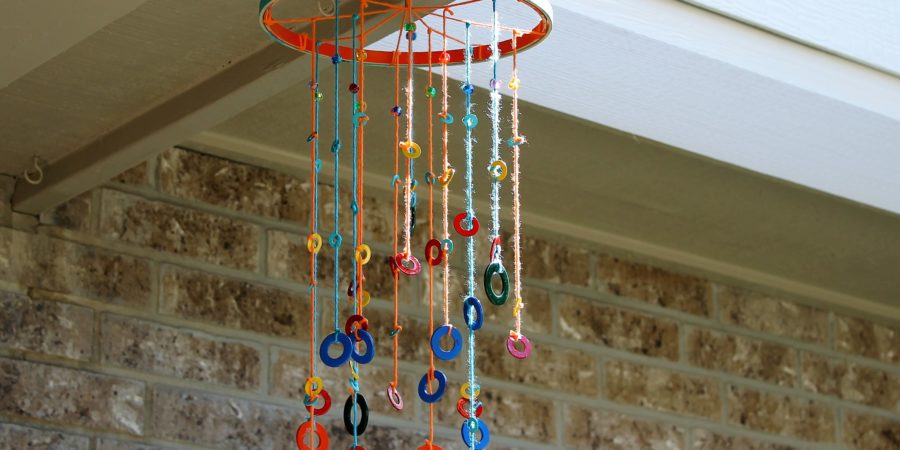
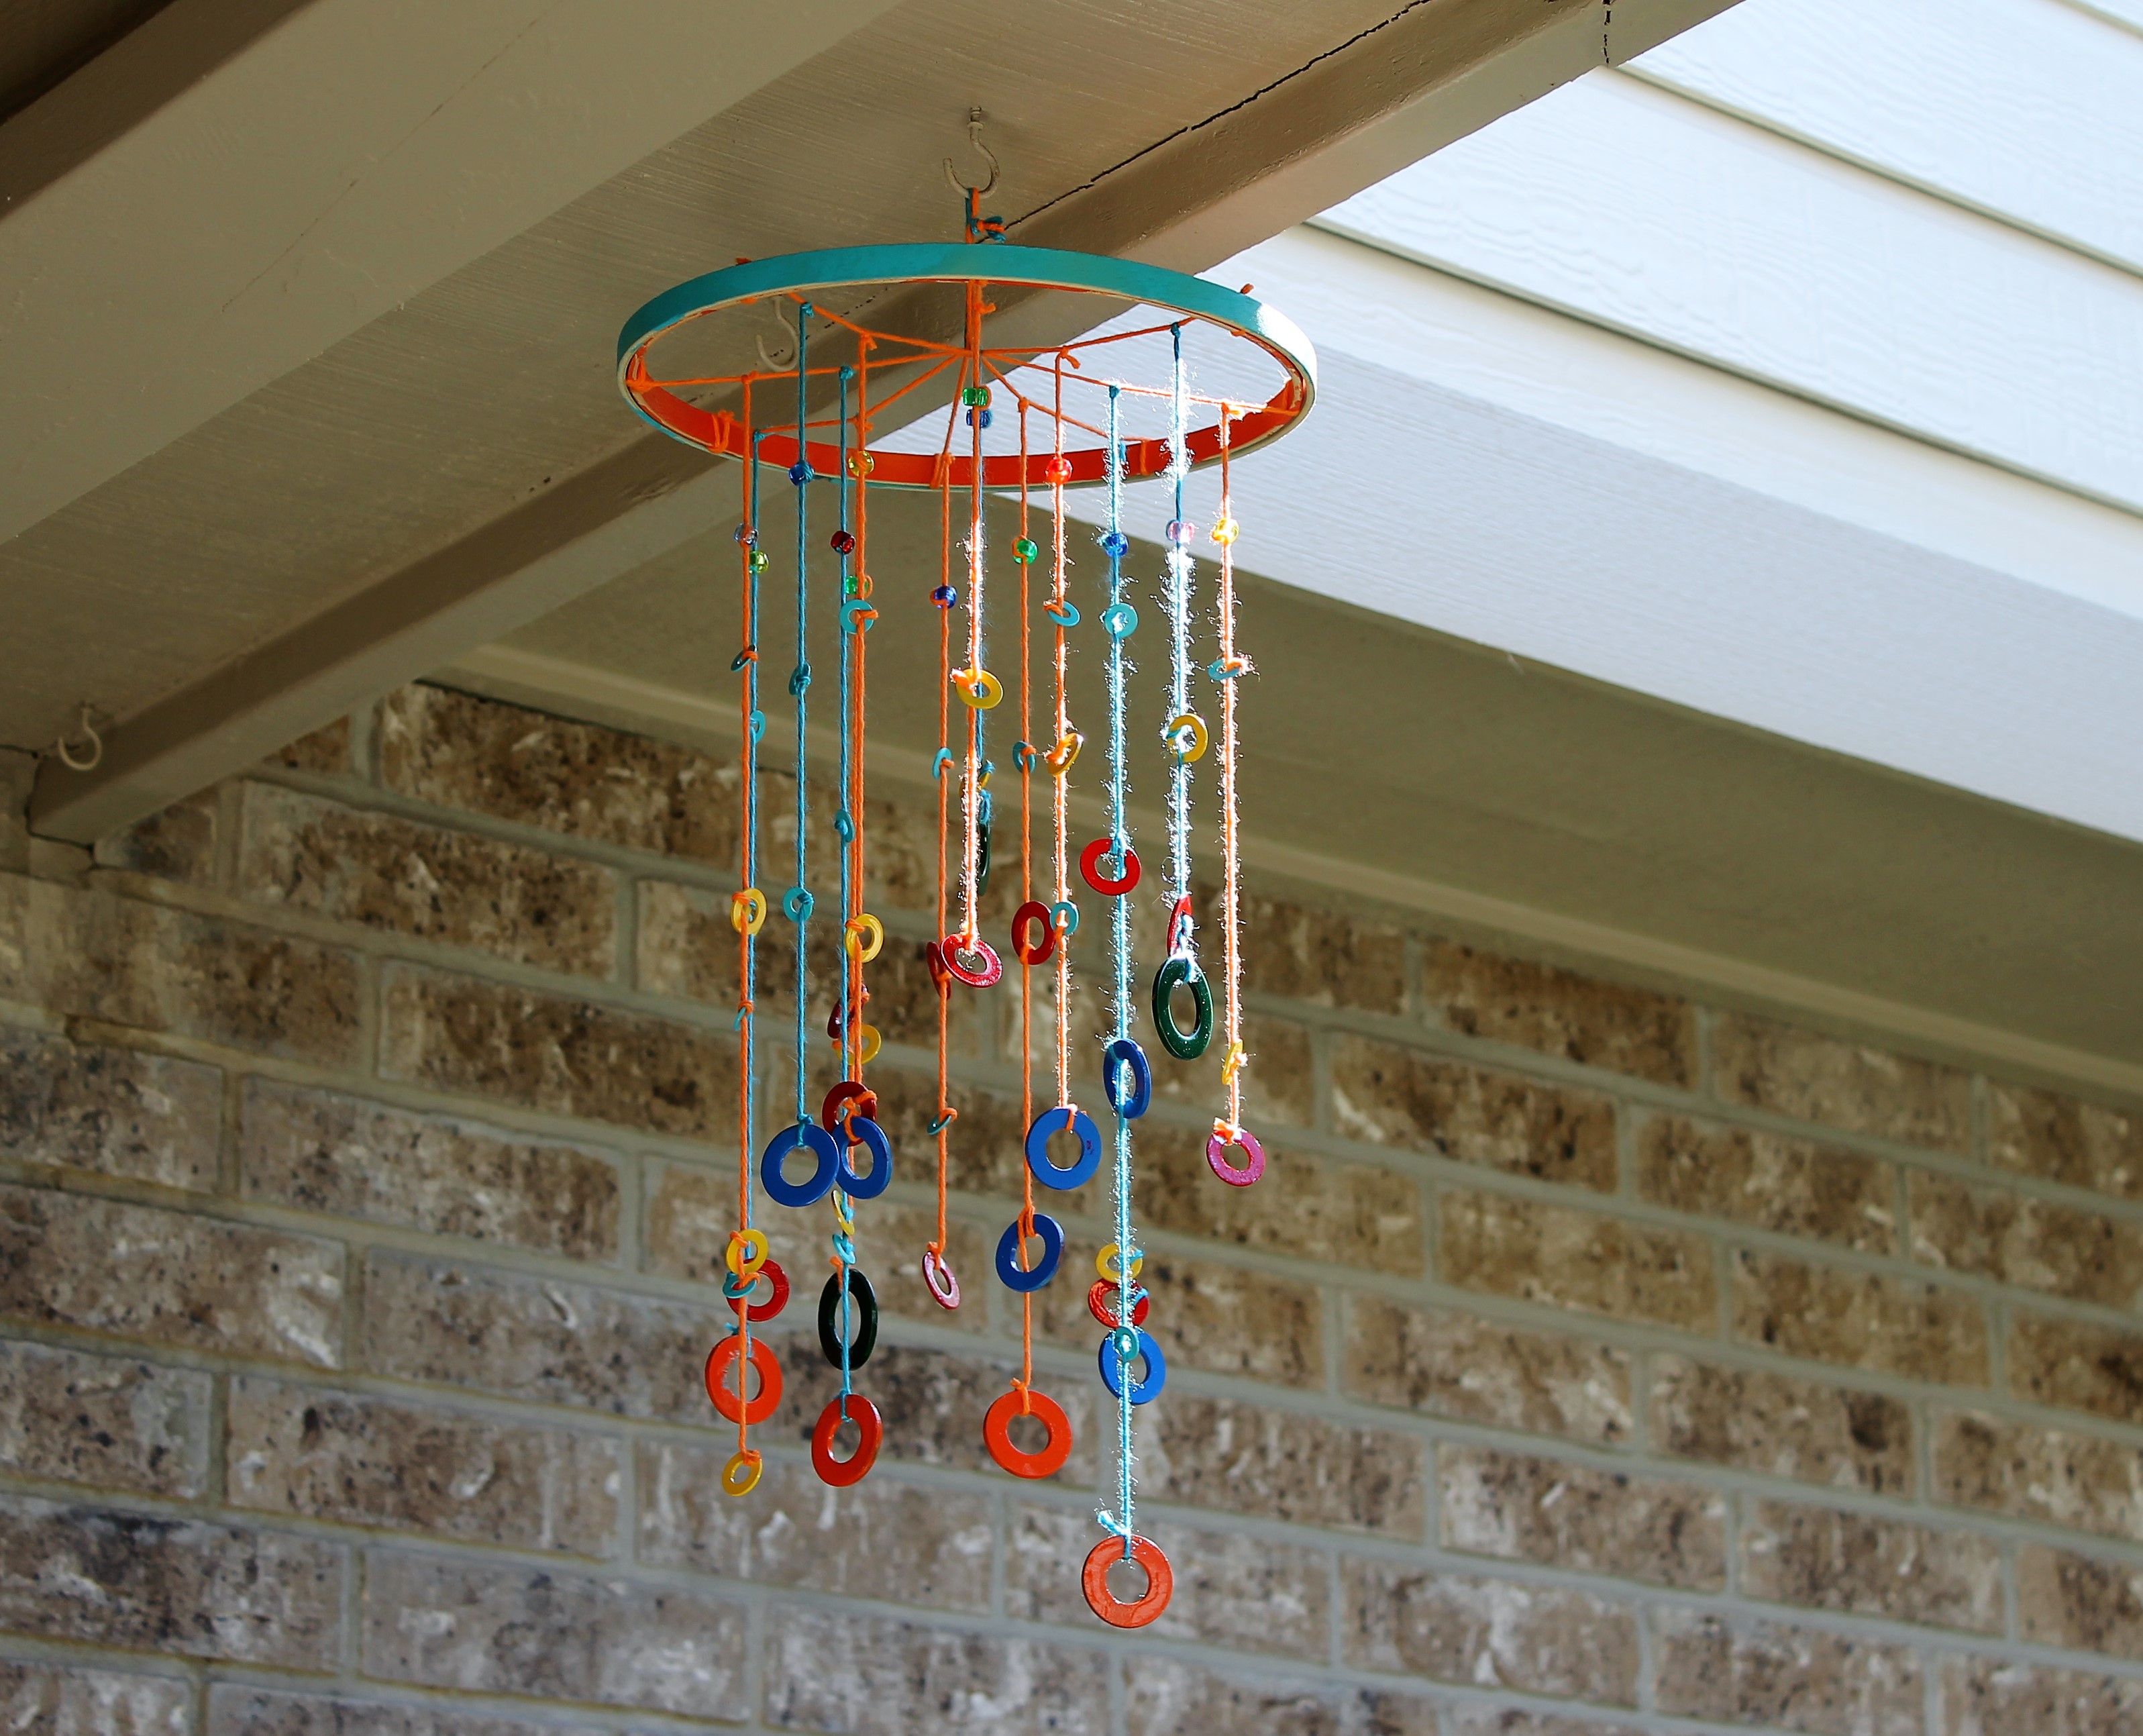
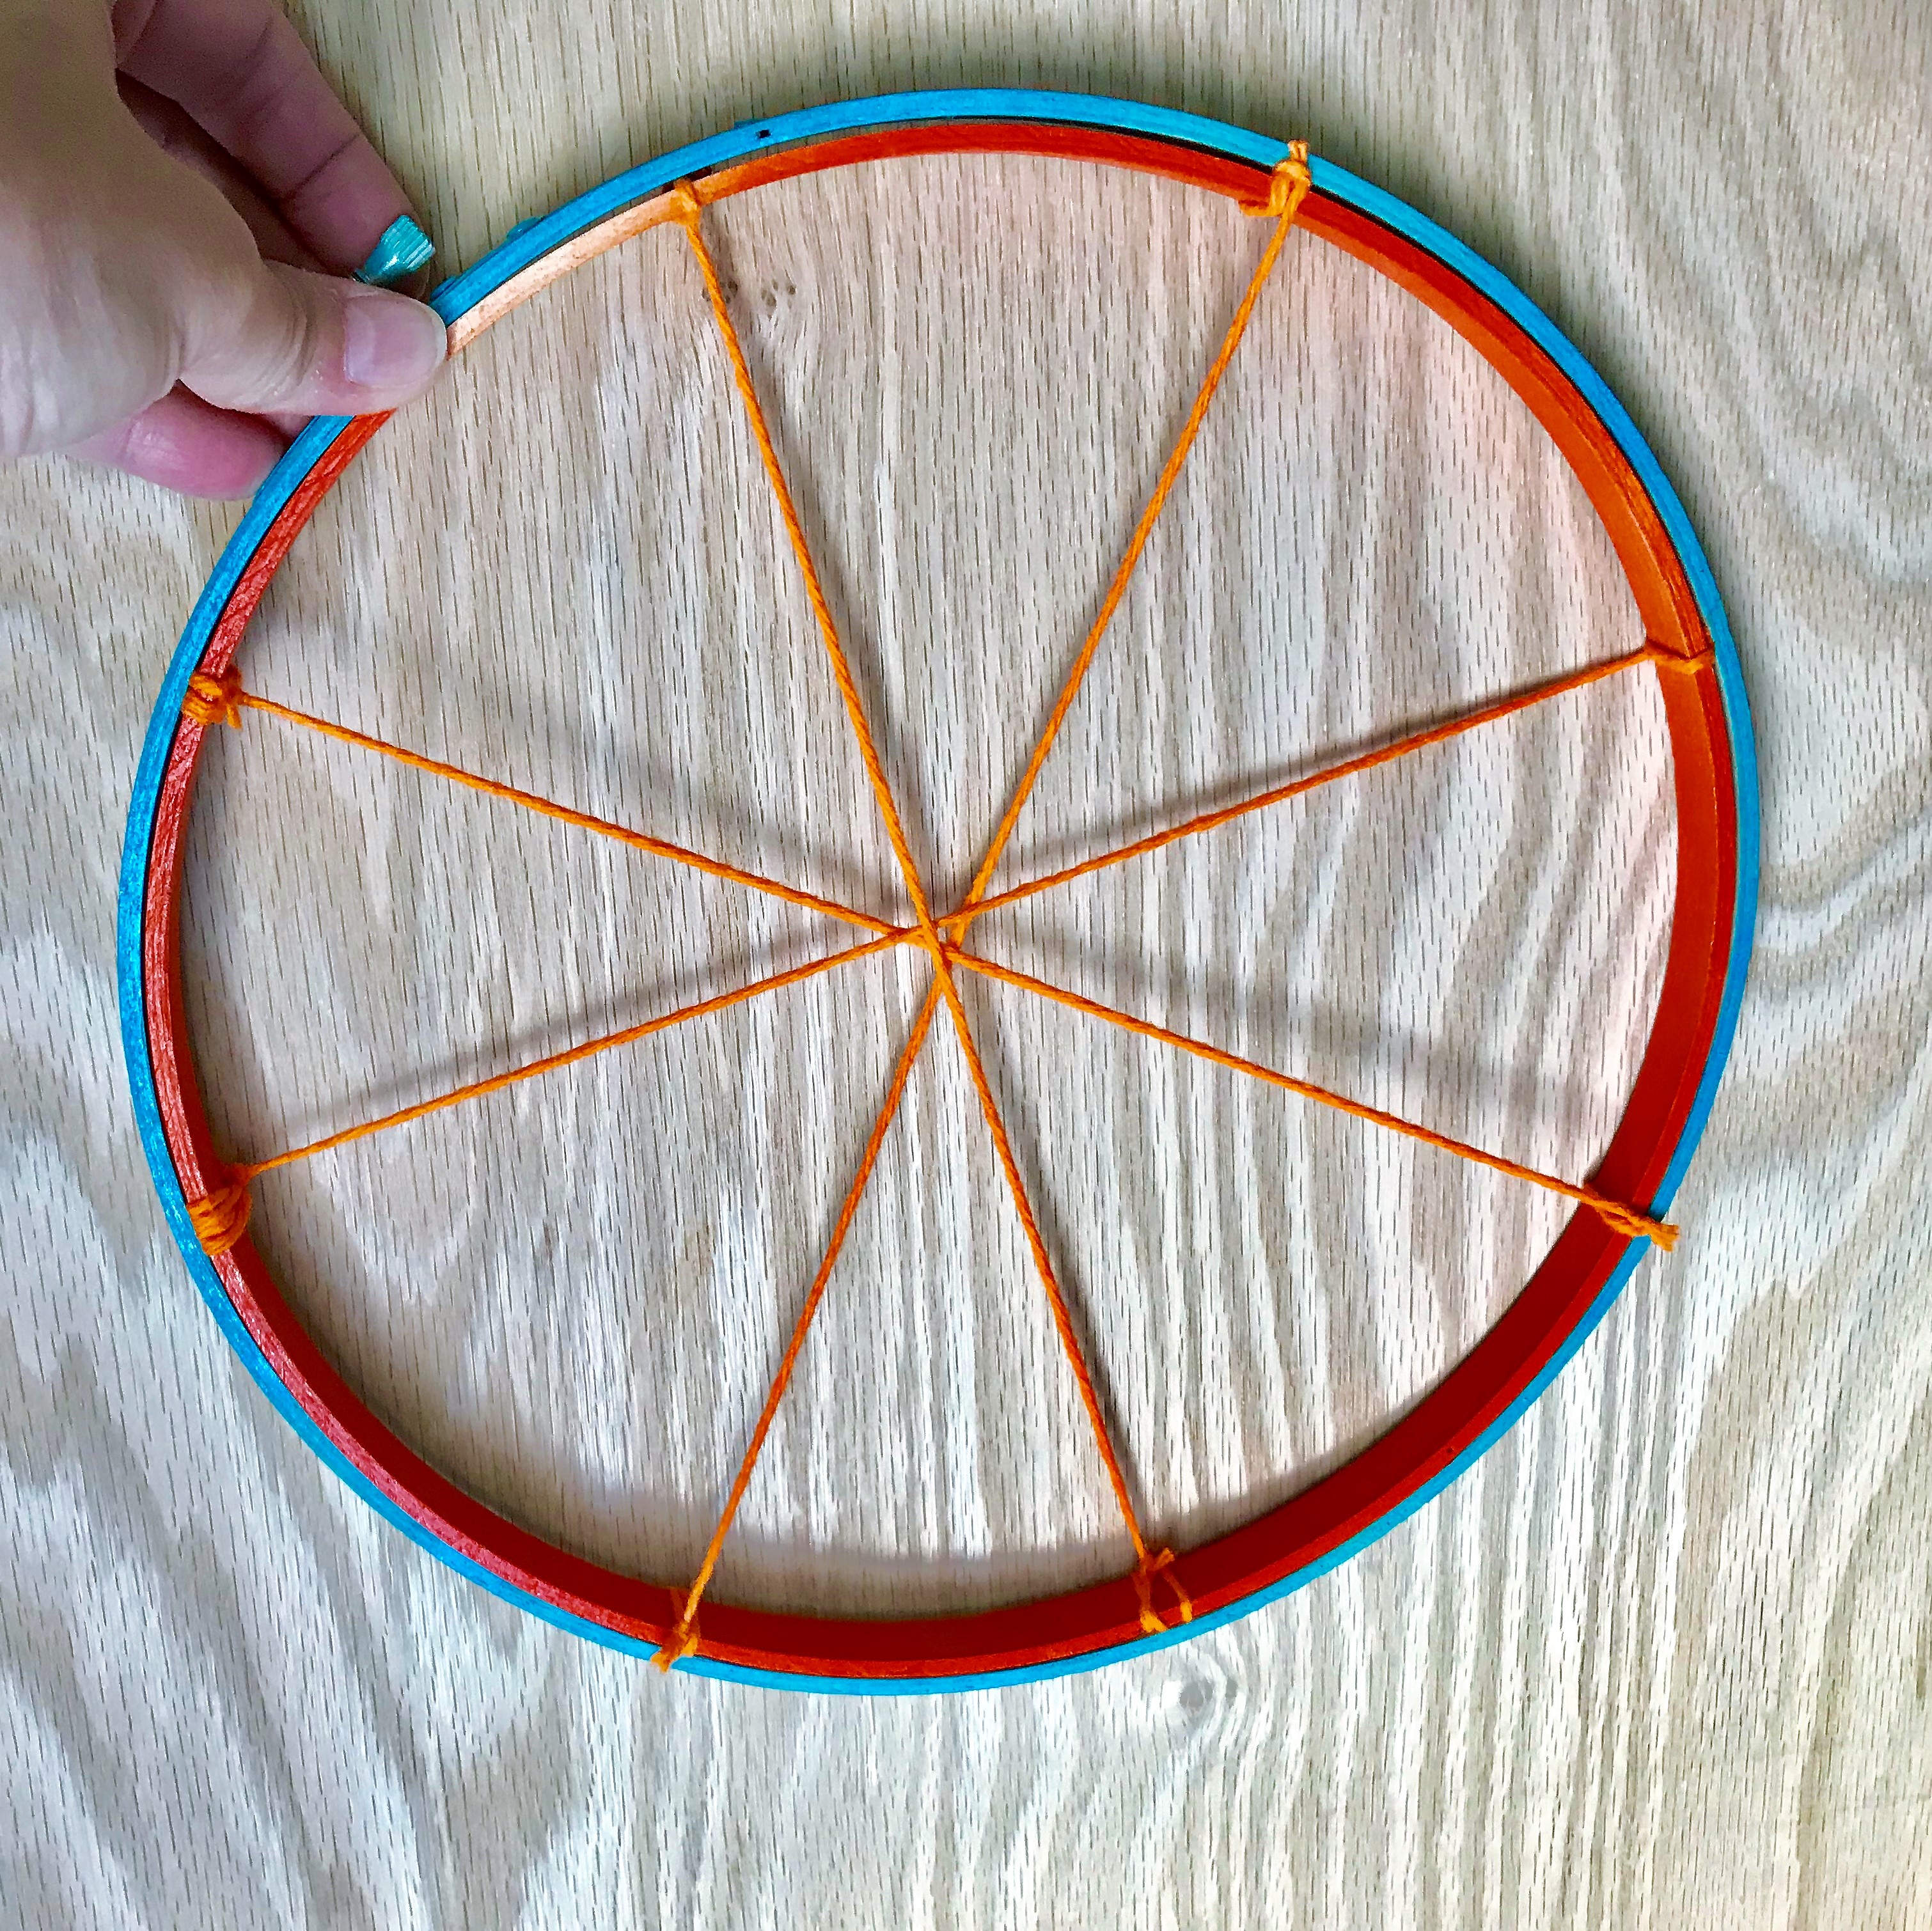
Follow the same steps as did for the wooden craft loop, let everything dry for at least 2 hours. Now it’s time to cut the yarn, you all know I don’t measure, so use your better judgement here. You will need six pieces of yarn for the top strings that go on the smaller wooden craft loop, this is what will hold the strings that hang down. These six strings should all be the same length and pulled tight before securing them. Place the bigger loop on top of the smaller loop and tighten the larger loop to hold everything together.
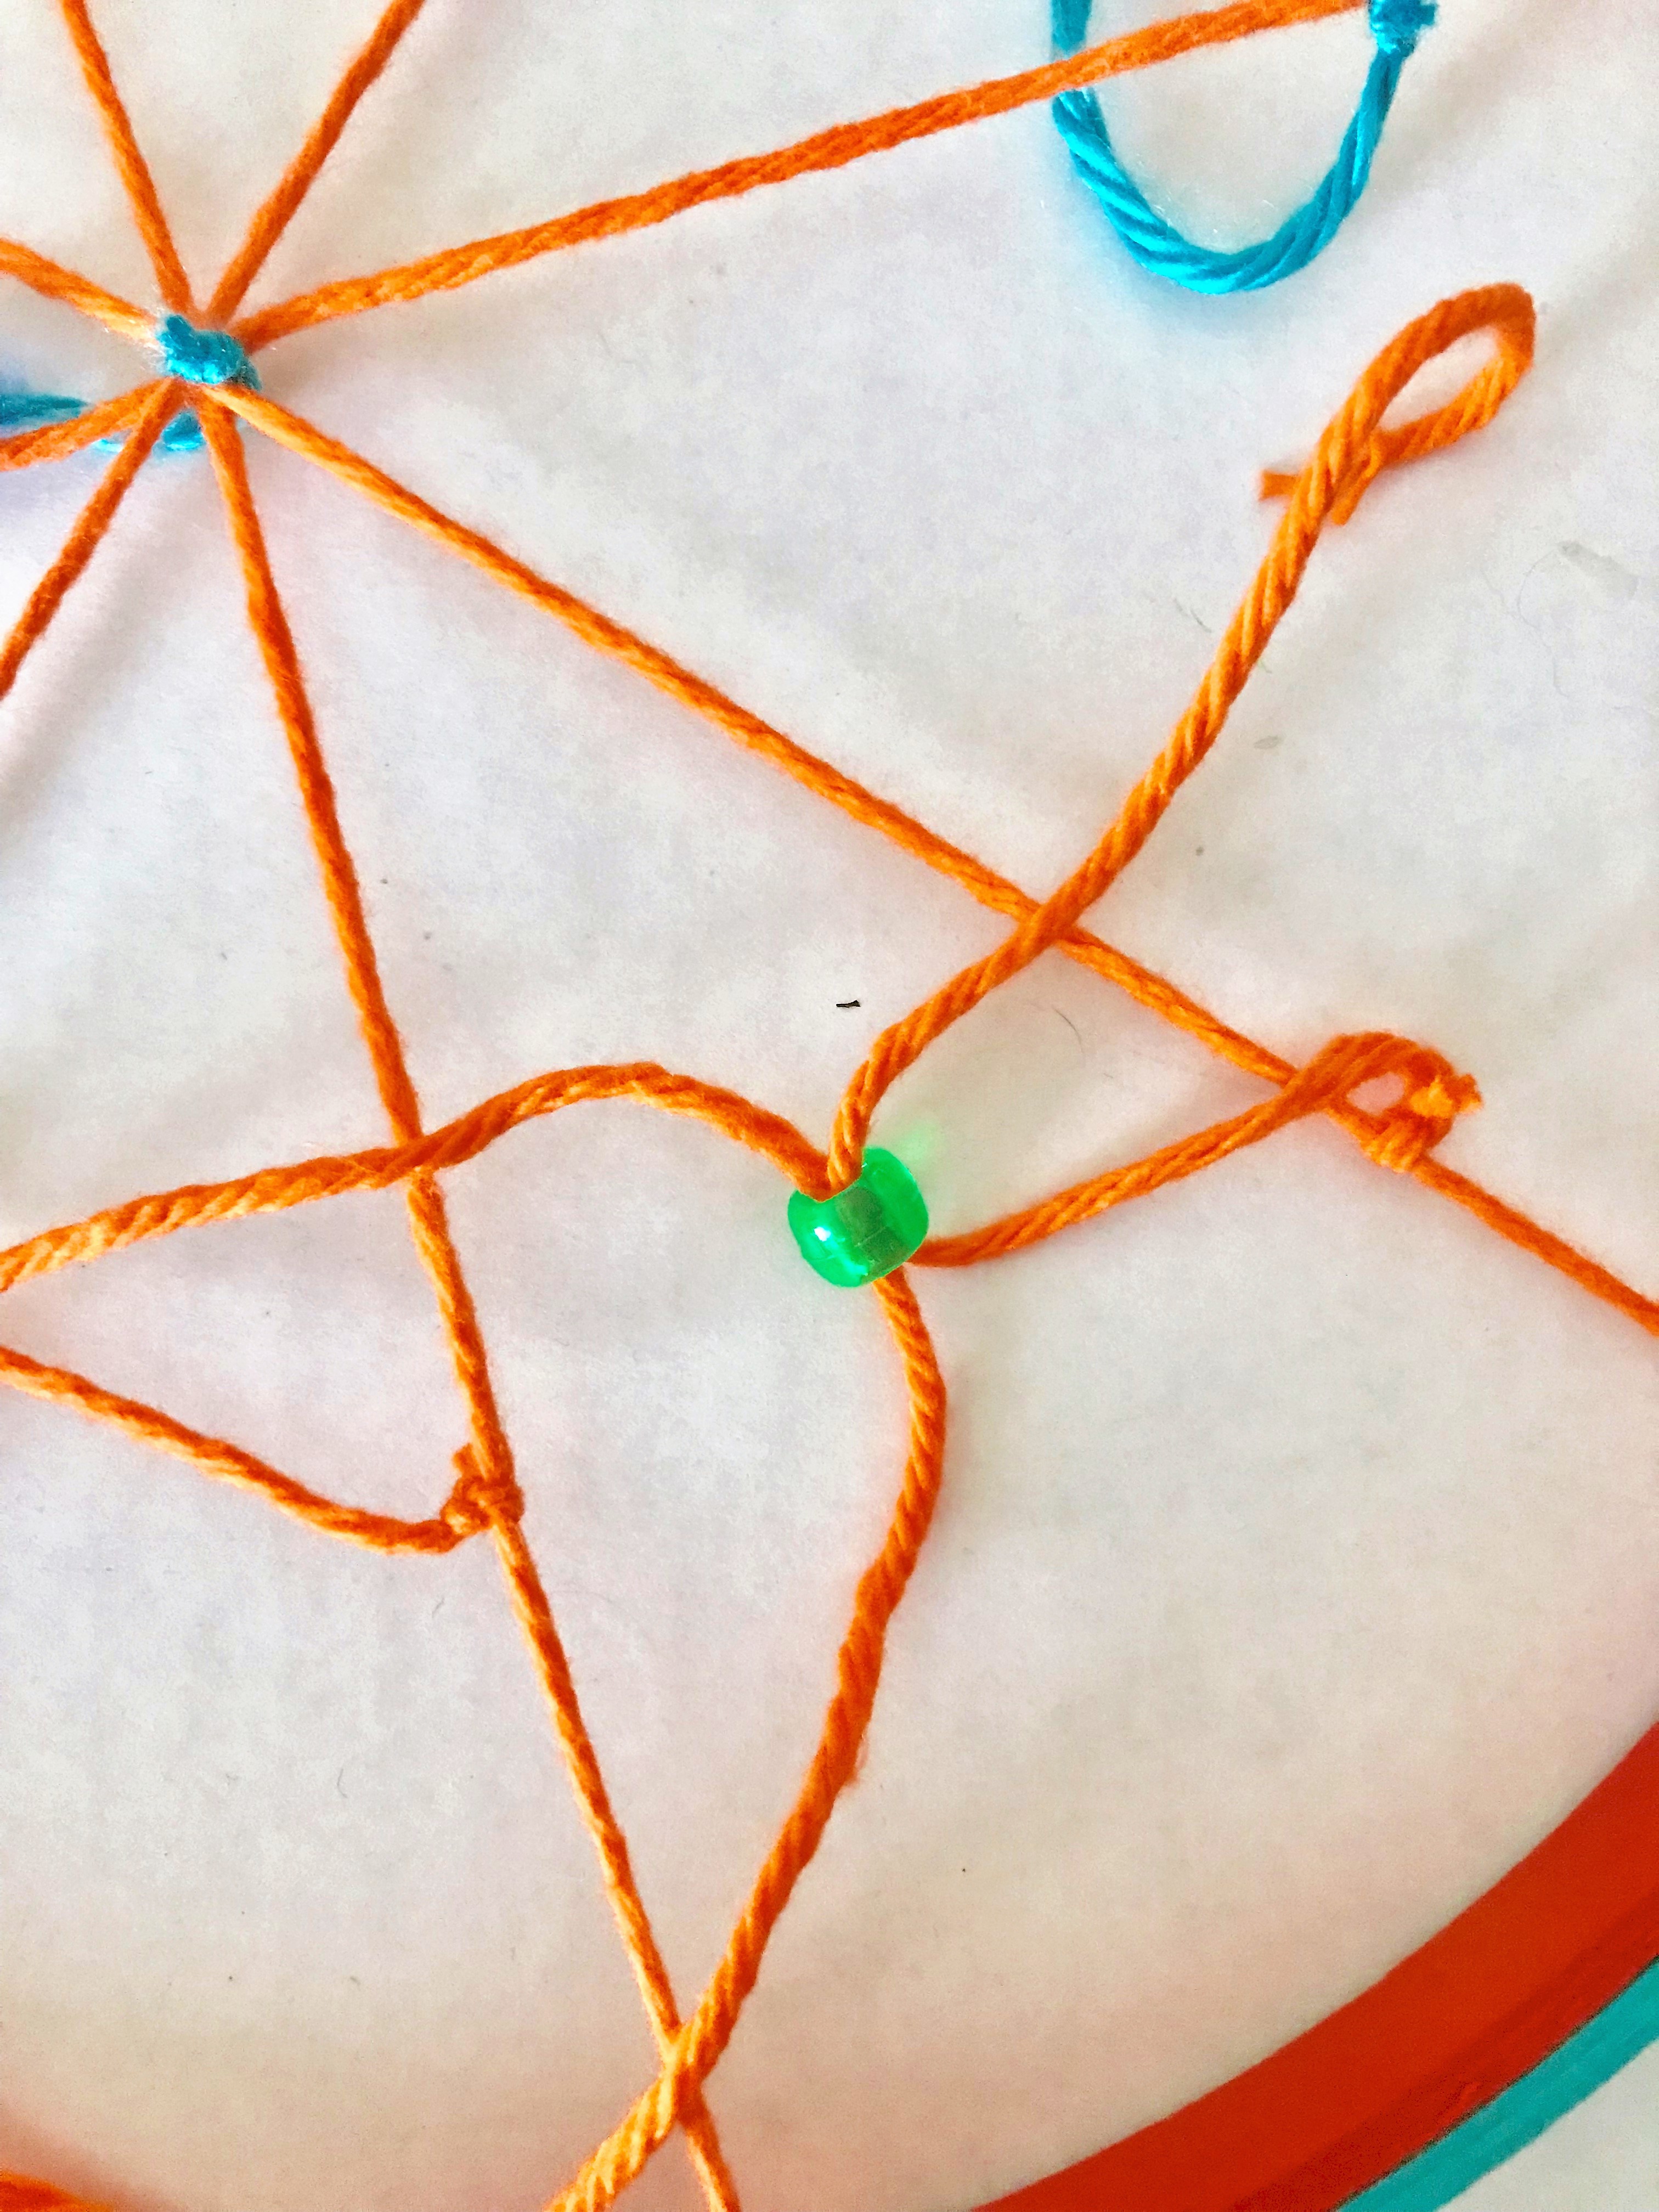
Time To Tie The Washers
Now for the fun part, I used plastic beads at the top of each string, but you don’t have to. To tie the washers to the strings, just loop the yarn through each one and add the next one, you don’t have to tie them or glue them, this allows you to move them where you want them when you are done, and they will stay in place. Tie off the bottom washer once you have added all the beads and washers to each string.
Finally, add two pieces of yarn to the middle of the top strings so you can hang the wind chime. This Fun & Easy DIY Summer Wind Chime is a great craft to keep the kids busy during the summer.
[…] 1. Handmade Wind Chimes […]