Fall is here, well almost. I know, it’s still hot out there, but the pumpkin spice is everywhere and that makes me want to start decorating for fall. Below are my 10 best ways to decorate a pumpkin. What is your favorite way to decorate for fall. I love all the leaves and pumpkins and lots of hay.
Fall Is My Favorite Season
When I use to work for the craft store, in a former life, I loved when the fall products would come in to the store. I would start getting so excited for this season, mainly because it meant cooler weather was coming, but it was because I just love fall. I brings back so many wonderful memories of my childhood.
Pumpkin Spice Everything
Fall also means pumpkin spice, and I love to create treats and drinks with pumpkin spice.
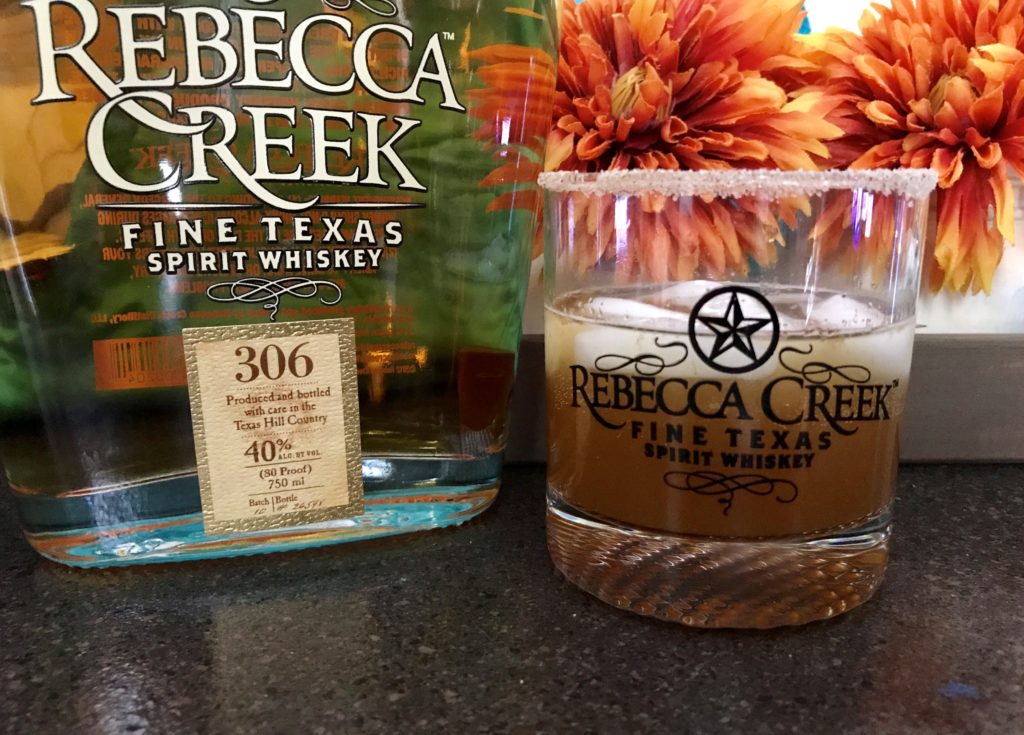
Related – Pumpkin Spice Cocktail
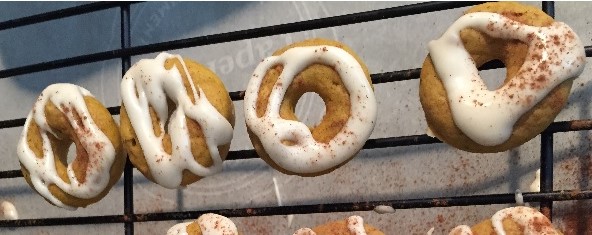
Related – Pumpkin Spice Donuts For Breakfast
Pumpkin Number 1 My Favorite, The Glitter Pumpkin
To me this is the prettiest pumpkin. I have done the glitter pumpkin in almost every color of glitter, I think my favorite is the green.
Items Needed
- Styrofoam pumpkins
- Glitter in a colors – Shop Michaels Online
- Decou Page – Shop Michaels Online
- Sponge brush
- Paper plates
Directions
- Brush decou page on the pumpkin, small areas at a time.
- Place the pumpkin over the paper plate and pour the glitter over the pumpkin.
- Shake off the excess glitter and do another are of the pumpkin.
- Finish the whole pumpkin and let it dry overnight.

Pumpkin Number 2 and 3 The Stripe Painted Pumpkin And The Twine Pumpkin
I love painting pumpkins for Fall and Halloween. The Styrofoam pumpkins are really easy to paint, and you can always change them up every year.
Items Needed
- Styrofoam pumpkins
- Deco Art paint – green, purple, black, white, and orange
- Sponge brushes
- Green glitter
- Painters tape
Directions
- Tape off the area of the pumpkin you want to paint.
- If you are a good painter, you can skip the first step.
- Paint each section of the pumpkin a different color, you may need 2 coats.
- Let the coats of paint dry for 10-20 minutes before painting another coat.
- Paint the stem with green paint and pour the glitter on it for an added touch.
Pumpkin Number 4 The Book Pumpkin
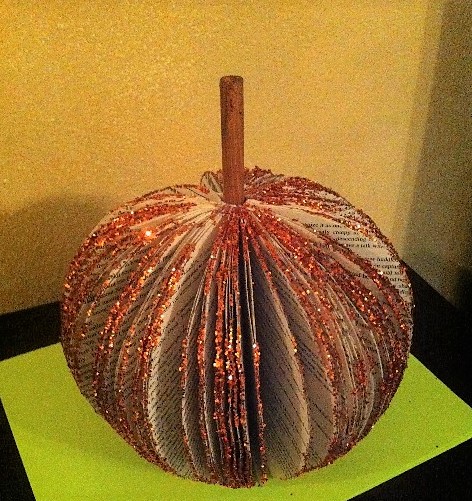
Do you have a lot of old books hanging around? If not, you could head to Goodwill or 1/2 Price Books and pick up a few for this project. This glitter book pumpkin takes some time to create, but It’s really pretty on the fireplace mantel. It would look great in a den or library too.
Items Needed
- Old books
- Xacto knife
- Decou page
- Orange glitter
- Paper plate
- Cinnamon stick
- Hot glue gun
Directions
- Create a circle and draw it on the front of the book.
- Taking a few pages at a time, and very carefully using the xacto knife, cut out the pages into the circle shape.
- Paint the edges of the book with decou page and pour the glitter on it while it’s still wet.
- Hot glue the front cover and the back cover of the book together.
- Place the cinnamon stick in the open circle of the book.
Pumpkin Number 5 The Mason Jar Pumpkin
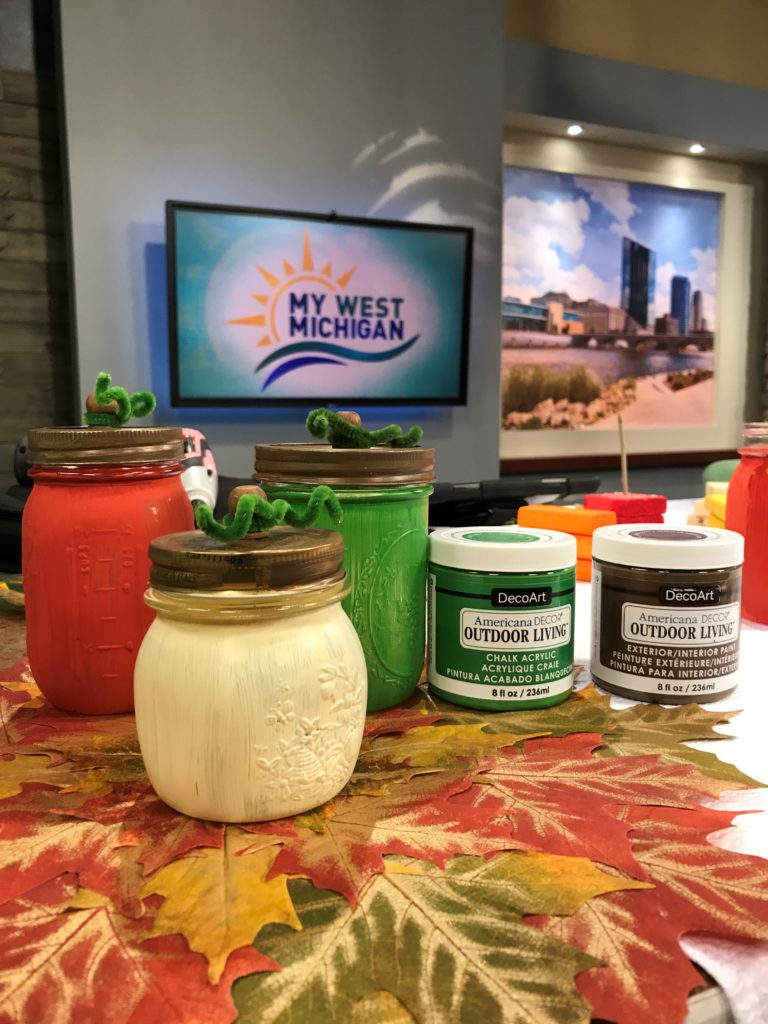
Mason or Ball jars are so fun to create projects with. They are inexpensive and can be reused over and over again. These cute jar pumpkins can be used as a centerpiece and you can fill them with candy.
Items Needed
- Mason/Ball jars in different sizes
- Deco Art Paint – green, brown, orange, and off-white (I used the outdoor paint so I could put the jars outside)
- Sponge brush
- Wood knobs
- Green pipe cleaners
- Hot glue gun
Directions
- Paint all the jars in the different colors.
- Let them dry, you may want to add a second coat, be sure to let the first coat dry completely.
- Paint the wood knobs and the jar lids brown.
- Hot glue the wood knob and the green pipe cleaner to the mason jar lid.
- Fill the jars with candy or anything, they would be good for organizing in your office too.
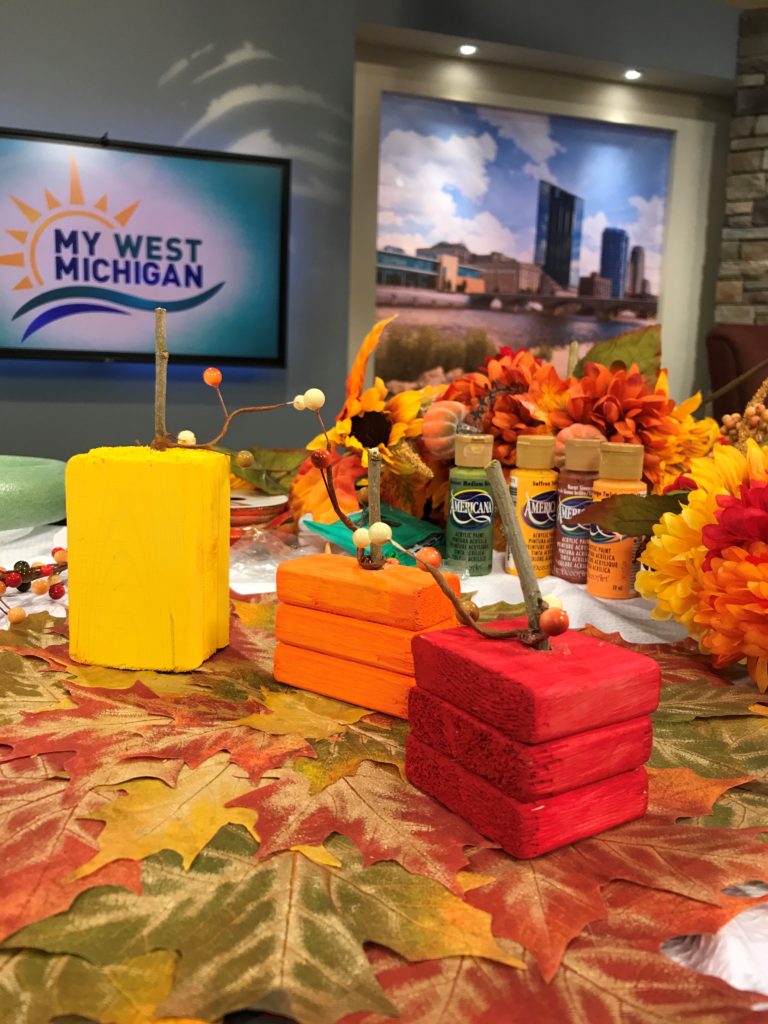
Pumpkin Number 6 The Wood Pumpkin
This pumpkin is fun to make because you can just use scraps of wood from around the house, or pick up some free scraps from the lumber store. You can create big ones for outside, or little ones for a table center piece.
Items Needed
- Wood pieces – 3 matching for each pumpkin
- Deco Art Paint
- Sponge brush
- Hot glue gun
- Sticks from a tree, or dowel rod
- Fall floral stems
- Drill and drill bit the size of the sticks
Directions
- Paint the wood pieces in the different colors.
- Glue 3 wood pieces together to make the pumpkin.
- Drill a hole in the top of the pumpkin, about 1/2 deep.
- Hot glue the stick into the pumpkin, with the floral stem.
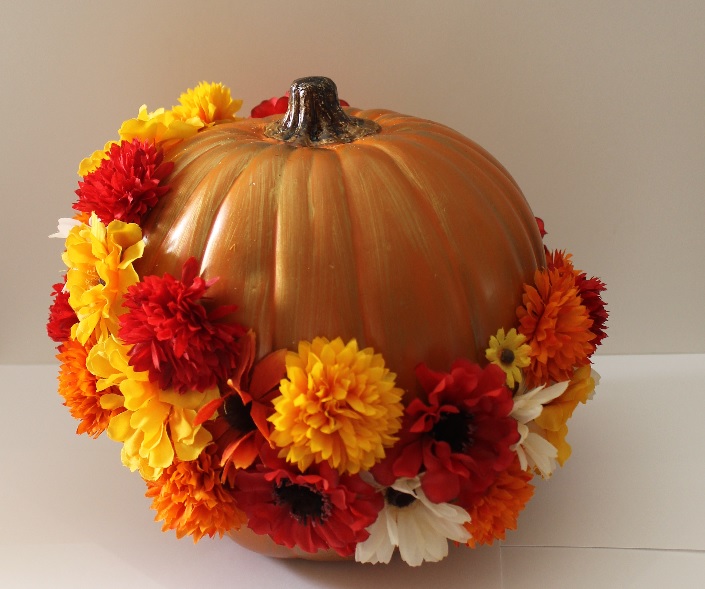
Pumpkin Number 7 The Floral Pumpkin
Creativeness really comes out in this pumpkin. I always buy floral pics from the craft store when they go on sale really cheap. This is a fun pumpkin to create with floral scraps, or you can get some in season fall floral, because they always have it on sale. You will want to have a drill for this one, it just makes it easier.
Items Needed
- Large Styrofoam pumpkin
- Drill and drill bit
- Fall floral stems
- Hot glue gun
Directions
- Draw out a design of where you want your floral stems to go.
- Drill holes to glue the stems into the pumpkin.
- Glue the stems into the pumpkin.
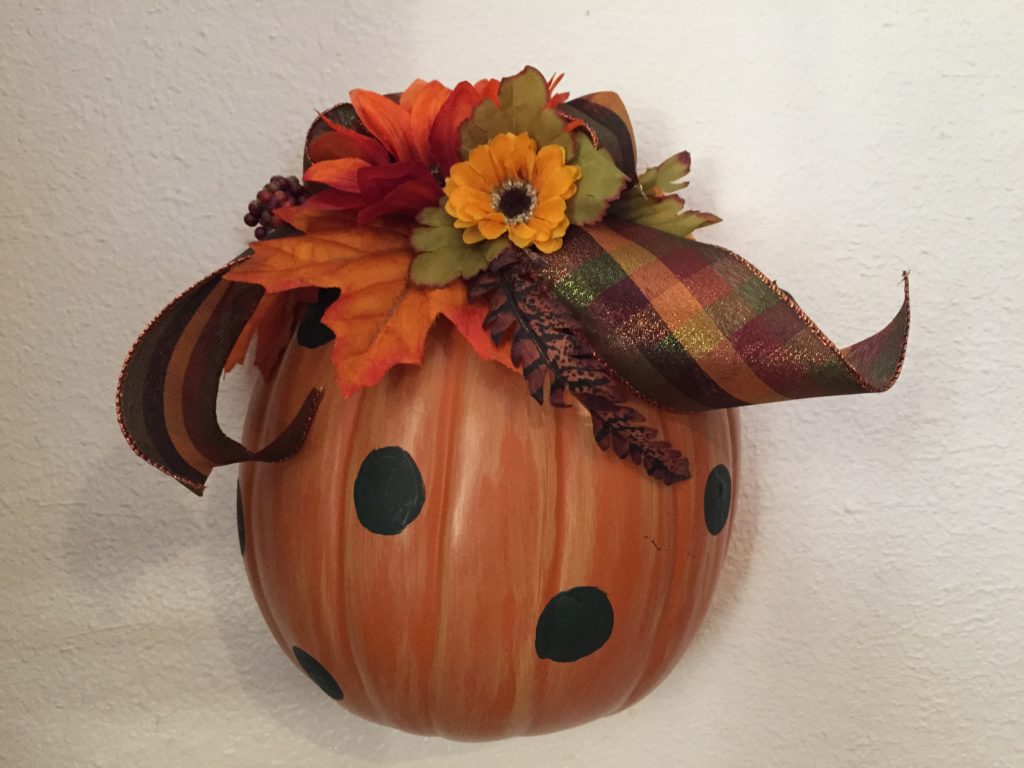
Cut The Pumpkin In Half and Decorate It With Paint And Flowers
This pumpkin uses a lot of the steps from other pumpkins, but it still falls under the floral pumpkin for me. I bought this Styrofoam pumpkin already cut in half, but if you have a good knife or even a Styrofoam cutter, you could cut one in half yourself.
Items Needed
- 1/2 Styrofoam pumpkin
- Deco Art paint – gold and black
- Fall floral pics
- Fall ribbon
- Hot glue gun
- Sponge brush
Directions
- Very lightly paint a wisp of the gold paint onto the pumpkin.
- Let that dry completely.
- Take the sponge brush and twirl a black circle onto the pumpkin, make as many of these as you would like.
- Let that dry, you may need 2 coats.
- Hot glue the floral pic and the fall ribbon to the top of the pumpkin.
- Hang and enjoy.
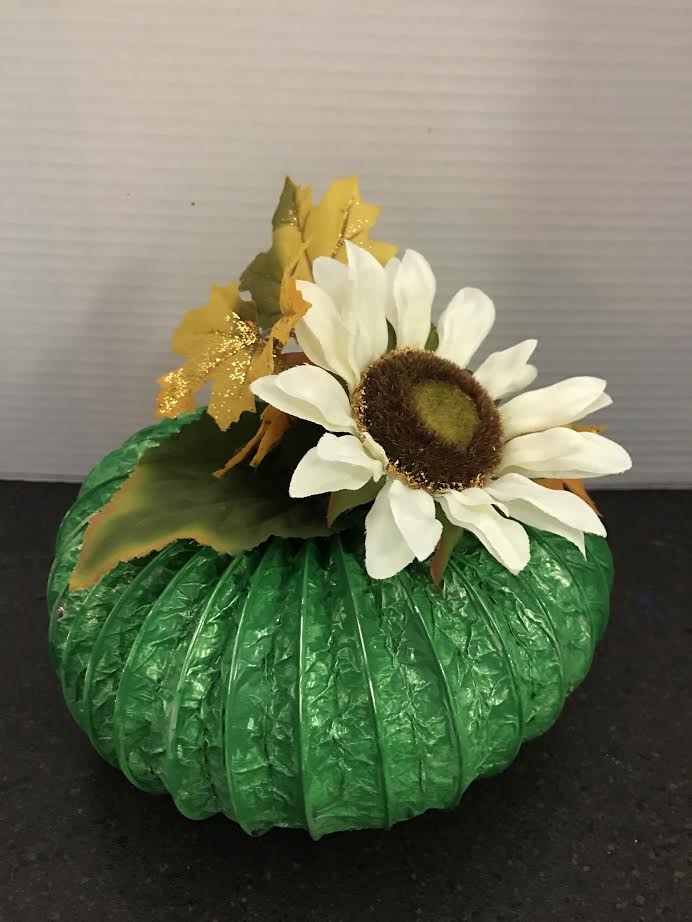
Pumpkin Number 8 The Dryer Vent Pumpkin
Talk about fun and inexpensive. The dryer vent pumpkin is crazy cool and a great conversation piece. It’s also a great way to remember to clean out your dryer vent that goes to your wall.
Items Needed
- Dryer vent in size of your choice
- Wire cutters
- Floral wire
- Deco Art acrylic paint, I did one in green and one in orange
- Sponge brush
- Fall flowers and pics
- Hot glue gun
Directions
- Stretch the dryer vent out and wrap it in a circle.
- With the wire cutters, cut the dryer vent to the size of pumpkin you want.
- Using the floral wire, tie the two end of the dryer vent together.
- Paint the dryer vent, it’s best to sponge the paint onto it.
- Let it dry completely, this may take about an hour.
- Hot glue the flowers and fall pics to the top of the dryer vent.
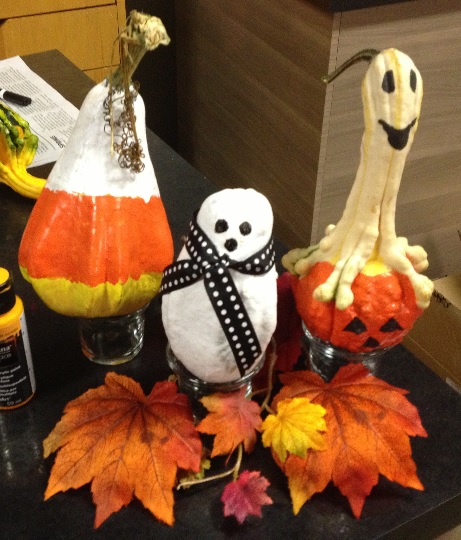
Pumpkin Number 9 The Pumpkin Gourd
Is a gourd a pumpkin? It’s in the same family, and really fun to paint characters on for Halloween. They are perfect for Fall decorating too.
Items Needed
- Gourds in all different sizes
- Deco Art Paint – Orange, white, black, yellow, and green
- Sponge brushes
- Fine brushes
- Fall and Halloween ribbon
Directions
- Have fun, paint a candy corn, or a ghost, or a pumpkin.
- Tie the fall ribbon or flowers onto the gourds.
Pumpkin Number 10 Carving The Pumpkin
Carving pumpkins is one of my most favorite things to do in the Fall. We even use to carve a lot of the pumpkins for the Zoo Boo when I worked at the San Antonio Zoo many years ago.

