I always think that Winter is my favorite season, but I really think Fall is. The smell of Fall, the feels of Fall, and the colors of Fall are all wonderful. Creating these 10 easy Fall decor ideas won’t break the bank, and will help you get in the Fall spirit. The Fall wreaths are so easy to make, and what’s great is you can reuse the items for your holiday wreath.
Fall Bandana Wreath
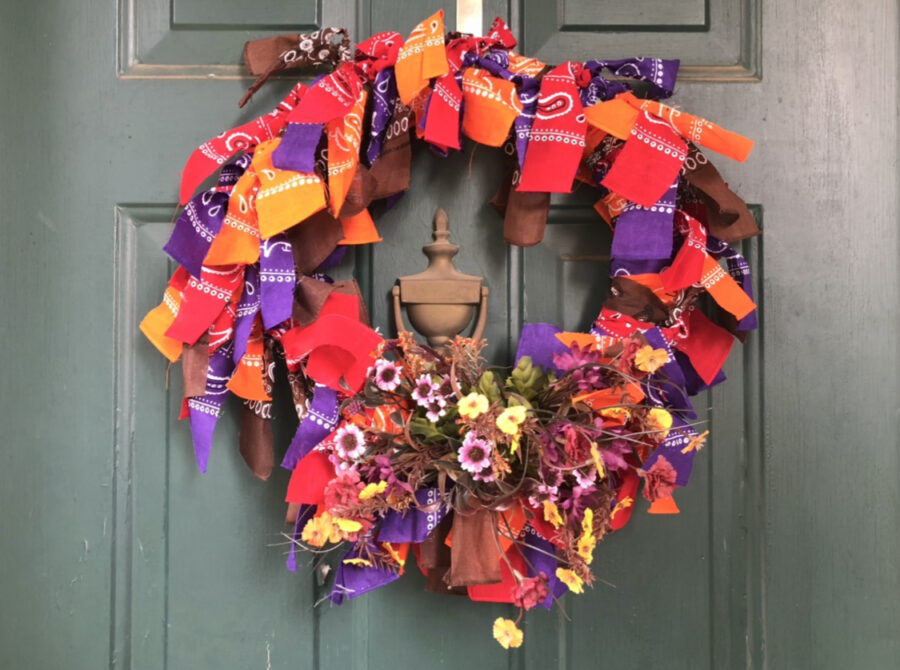
This was such a fun craft to make. Even the kiddos would like to create this project. You can find most of the bandanas at your local craft store, and I found the brown bandanas on Amazon.
Items Needed
- 3 Bandanas Of Each Color – Purple, Red, Orange, Yellow, Brown
- Styrofoam Wreath
- Scissors
- Fall Flowers
Directions
- Cut the bandanas into 1 1/2 inch strips.
- Tie the bandana strips around the wreath, tie 3 knots.
- Cut the fall flowers and stick them in the wreath.
Fall Burlap Wreath
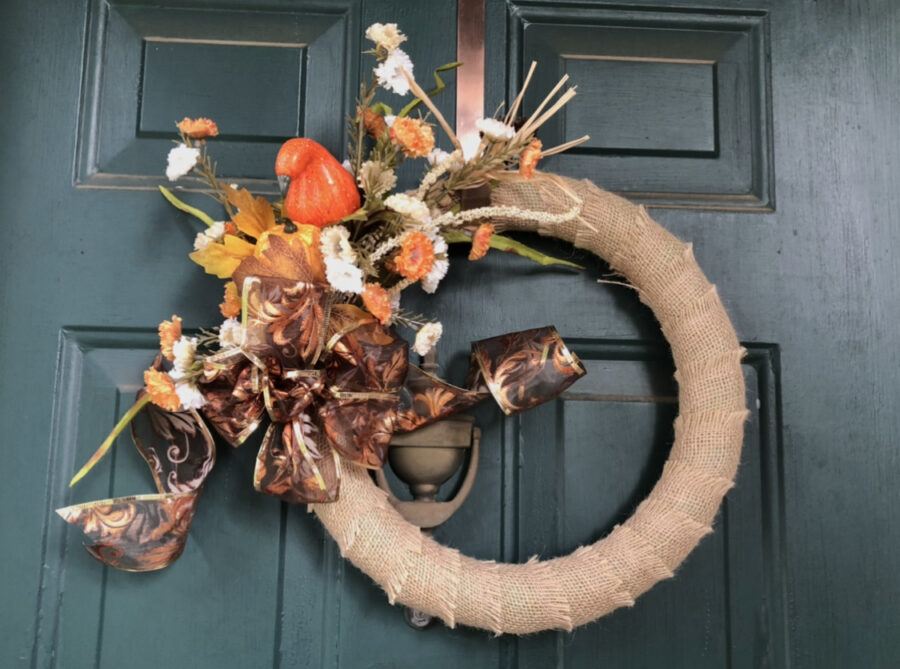
You can create this wreath on a metal wreath or a Styrofoam wreath. I like the look on a Styrofoam wreath, but it looks great on either.
Items Needed
- Fall Ribbon
- Burlap Ribbon
- Fall Flowers
- Styrofoam Wreath
Directions
- Pin the end of the burlap ribbon into the Styrofoam wreath.
- Wrap the burlap ribbon around the wreath.
- After it is completely wrapped, use the same pin to secure the ribbon in place.
- Cut the flowers and stick them into the wreath.
- Add a bow with the flower ribbon.
Fall Floral Wreath
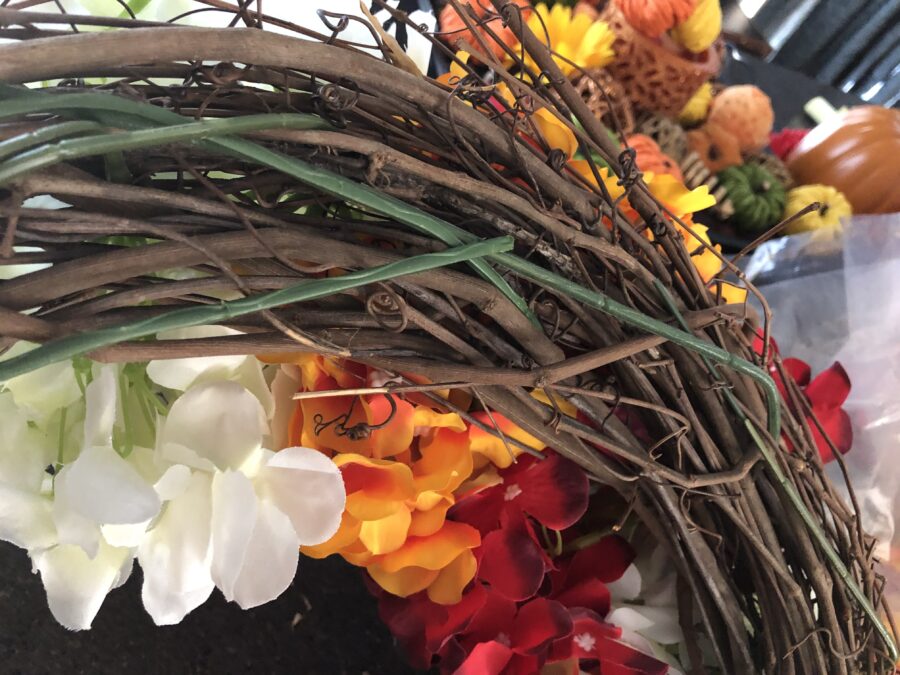
I love a grapevine wreath. They are perfect to use over and over and over again. The grapevine wreath I use has been through every holiday even Mardi Gras. A grapevine wreath is pretty inexpensive and comes in many sizes.
Items Needed
- Fall Ribbon
- Grapevine Wreath
- Fall Flowers and leaves
- Pipe Cleaner
Directions
- Cut the fall flowers and stick them into the grapevine wreath.
- There is no design for this, have fun with it, and make it your own.
- Create a bow with the fall ribbon and use a pipe cleaner to tie it to the wreath.
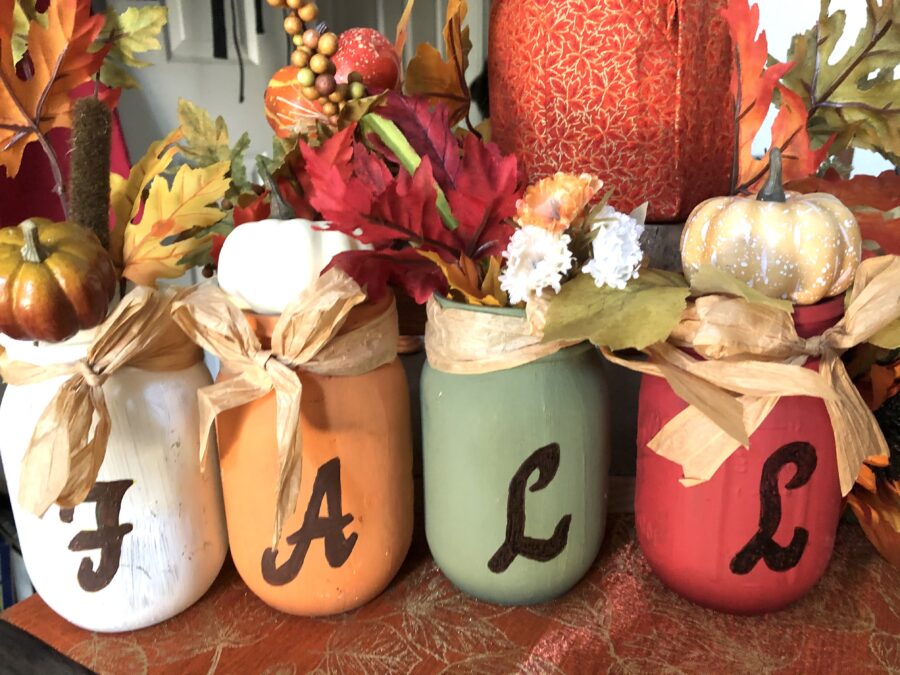
Fall Jar Table Setting
Creating projects with Ball jars is one of my favorite things to do. They are easy to paint on, you can decorate the inside or outside of them. You can also reuse them over and over again.
Items Needed
- 4 Ball Jars
- Deco Art Paint In 4 Fall Colors And Brown For The Letters
- Raffia Ribbon
- Sponge Brush
- Small Paint Brush
- Fall Flowers
- Raffia Ribbon
Directions
- Paint each Ball jar a different color.
- You may need 2 – 3 coats, let them dry at least 10 minutes in between coats.
- Paint the letters F A L L onto the jar with the small paint brush and the brown paint.
- Let the paint dry completely.
- Tie a bow onto the top of the jar with the raffia ribbon.
- Add the Fall flowers to each jar.
Table Risers
This is a fun craft that you can make in different sizes and heights. I love how inexpensive this craft is too. Most of the products can be found at your local craft store, and I found the wooden squares on Amazon for a great price.
Items Needed
- Wood Squares In Different Sizes
- Wooden Beads, Spools, And Other Items For Legs
- Deco Art Paint, Your Choice Of Color
- Antiquing Medium
- Sponge Brush
- Paper Plate Or Palette
- Hot Glue Gun Or Craft Glue
Directions
- Mix one part paint and one part antiquing medium on a plate.
- Paint the wood square and legs the same color.
- Let dry.
- Glue the legs/beads to the wood square.
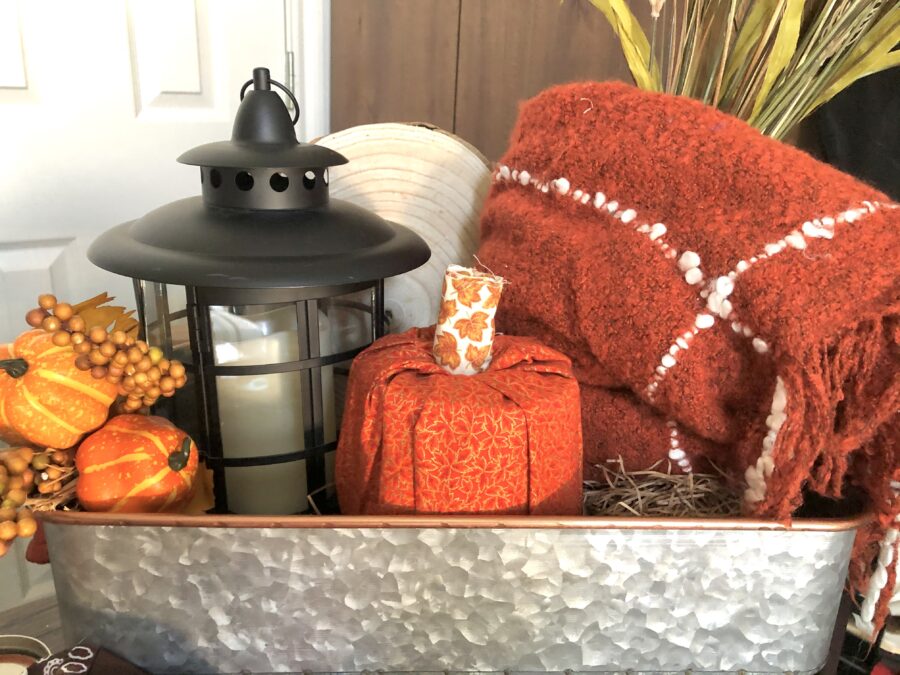
Create A Fall Basket Of Goodies
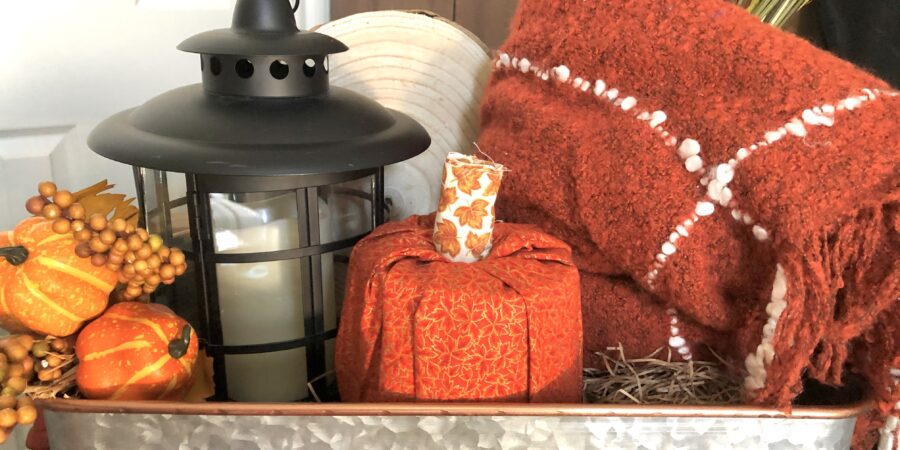
Creating a Fall basket is perfect for a guest room, living room, or even your bathroom. You can place all kinds of different Fall items in the basket, and they are really easy to decorate.
Items Needed
- Big Basket Or Something To Put Fall Items In – I used a Big Metal Tray That I Had
- Fall Blanket
- Lantern
- Fall Flowers
- Pumpkin
- Fall Scented Candle
Directions
- Have fun with this, just place things loosely in the basket and add the Fall flowers to accent.
Fall Snacks Everyone Will Love
This is not only a fun craft, but a yummy one. Picking out Fall, or even Halloween candy is part of the fun. I’m not a candy corn fan, but my husband is, so I definitely had to put those in the mix. This is a great idea to give as a gift too.
Items Needed
- Fall Candy Of Your Choice
- Square Pretzels
- Wilton Candy Eyes (For Halloween)
- Candy Corn
- Chocolate Chips
- Fall Bowl Or Plate
- Zipper Bags
Directions
- Mix all the ingredients in the bowl.
- You could put small portions in zipper bags to give out.
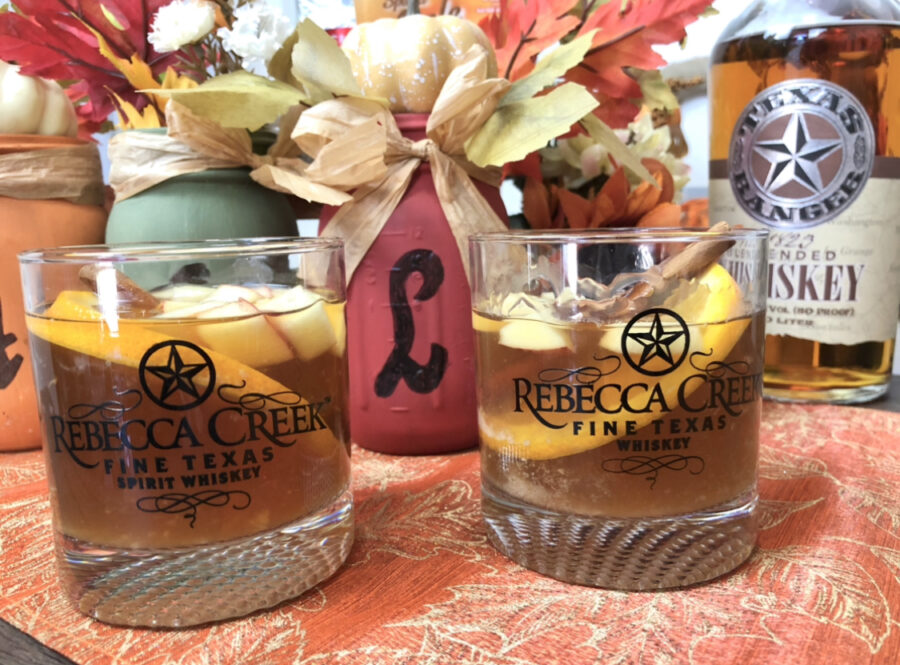
Fall Apple Cider Cocktail
I think this Fall apple cider cocktail may be one of my favorite cocktails I have ever made. All of the Fall flavors are in this cocktail, and it’s really easy to make.
Items Needed
- 1/2 Cup Apple Cider
- 1 1/2 oz Enchanted Rock Vodka
- 2 oz Texas Ranger Whiskey
- Caramel Drizzle
- Apple – Chopped
- Orange – Sliced
- Cinnamon Stick
- 2 – 3 Drops Orange Bitters
Directions
- This can be made as a hot drink or cold drink.
- Drizzle the caramel around the inside of the glass.
- Use a rock glass and add the vodka and whiskey.
- Add the apple cider and bitters.
- Place the apples and orange slice in the glass.
- Add the cinnamon stick.
- For a sparkly cocktail, top it off with sparkling apple cider.
Related – Pumpkin Spice Whiskey Cocktail
Fall Toilet Paper Pumpkin
We all should have extra toilet paper hanging around, so this project shouldn’t cost to much to make at all. If you don’t have an Fall material at home, you can order some, or head over to your local fabric store, they all have sales going right now.
Items Needed
- Toilet Paper Roll
- 18″ x 18″ Sqaure Piece Of Fall Material (larger for larger roll of toilet paper)
- Large Cinnamon Stick
Directions
- Place the toilet paper roll in the middle of the material.
- Stuff the material into the center of the toilet paper roll until it looks like a pumpkin.
- Place the cinnamon stick in the center of the roll to hold the material.
Pumpkin Garland
I’ve never made a project like this before, and it was so fun. One tip, get a piece of Styrofoam to stick toothpicks in to paint the beads.
Items Needed
- Wooden Pumpkins
- Deco Art Acrylic Paint – Orange, White, Brown, Green
- Wooden Beads
- Twine Or Rope
- Sponge Brush
- Paper Plate
- Styrofoam
- Dowel Rods
- Hot Glue Gun
Directions
- Paint the wooden pumpkins orange.
- Let dry and paint the top green.
- Paint the beads white, brown, and orange.
- Place the beads onto sticks on the Styrofoam to make it easier to paint and dry.
- Let all the wooden pieces dry completely.
- String the beads onto the twine and hot glue a pumpkin in between the beads.
Related – Fall Decorations For Your Home
