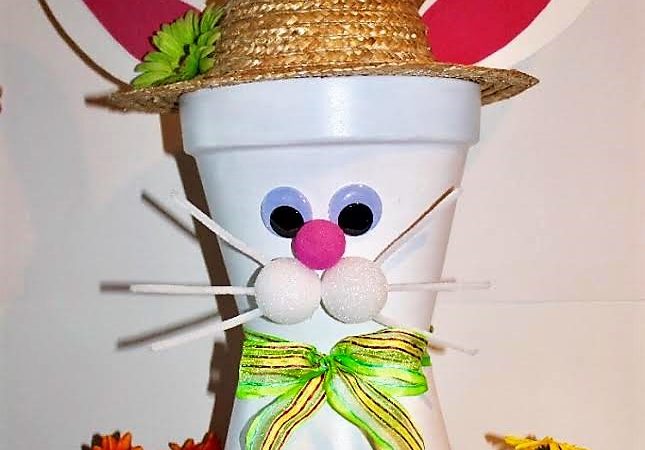
DIY Easter Bunny And Chicks
Easter is coming soon and decorating with clay pots can be fun for any holiday. These easy DIY Easter bunny and chicks are easy to create and even the kiddos will love to make it. You can use it for a centerpiece, or even make a large one to put outside by your front door. Just be sure to use the Deco Art Patio Paint if you will be leaving it outside.
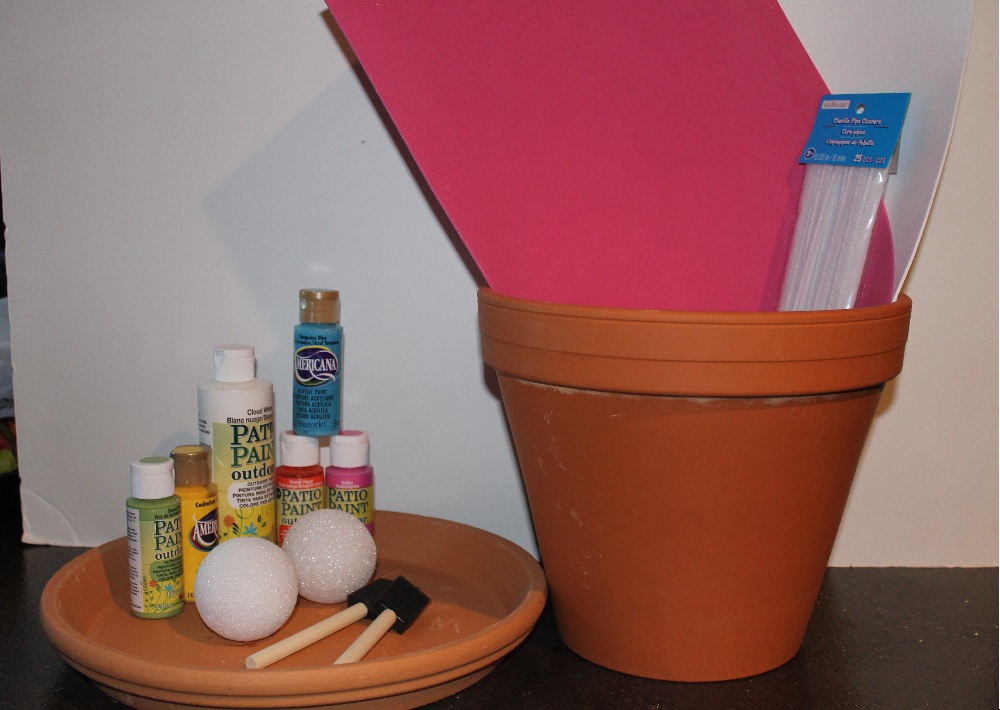
Get The Right Supplies
All you need are a few clay pots in various sizes, some Deco Art paint and a few other items that you may have around your home. You can make this any size that you would like, I have made them big enough to be outside in front of your door, just check your local craft store for clay pot sizes. As always, remember to get creative and have fun.
Related – DIY Easter Treats
Items Needed
- Clay pots
- 3”, 4”, & 3” rose pot for small bunny
- 8” & 10” for large bunny
- 1” for chick
- Styrofoam balls
- ½”, 2” & 3”
- Deco Art Patio Paint
- White
- Yellow
- Pink
- Blue
- Sponge brushes
- Hot glue gun
- E6000 glue
- White pipe cleaners
- Orange pipe cleaner
- Fun foam – white and pink
- Wiggle eyes in various sizes
- Spring ribbon
- Straw hat
- Spring flowers
Michaels Discount – 40% OFF ALL Easter Decor
Create One For Your Front Door Too
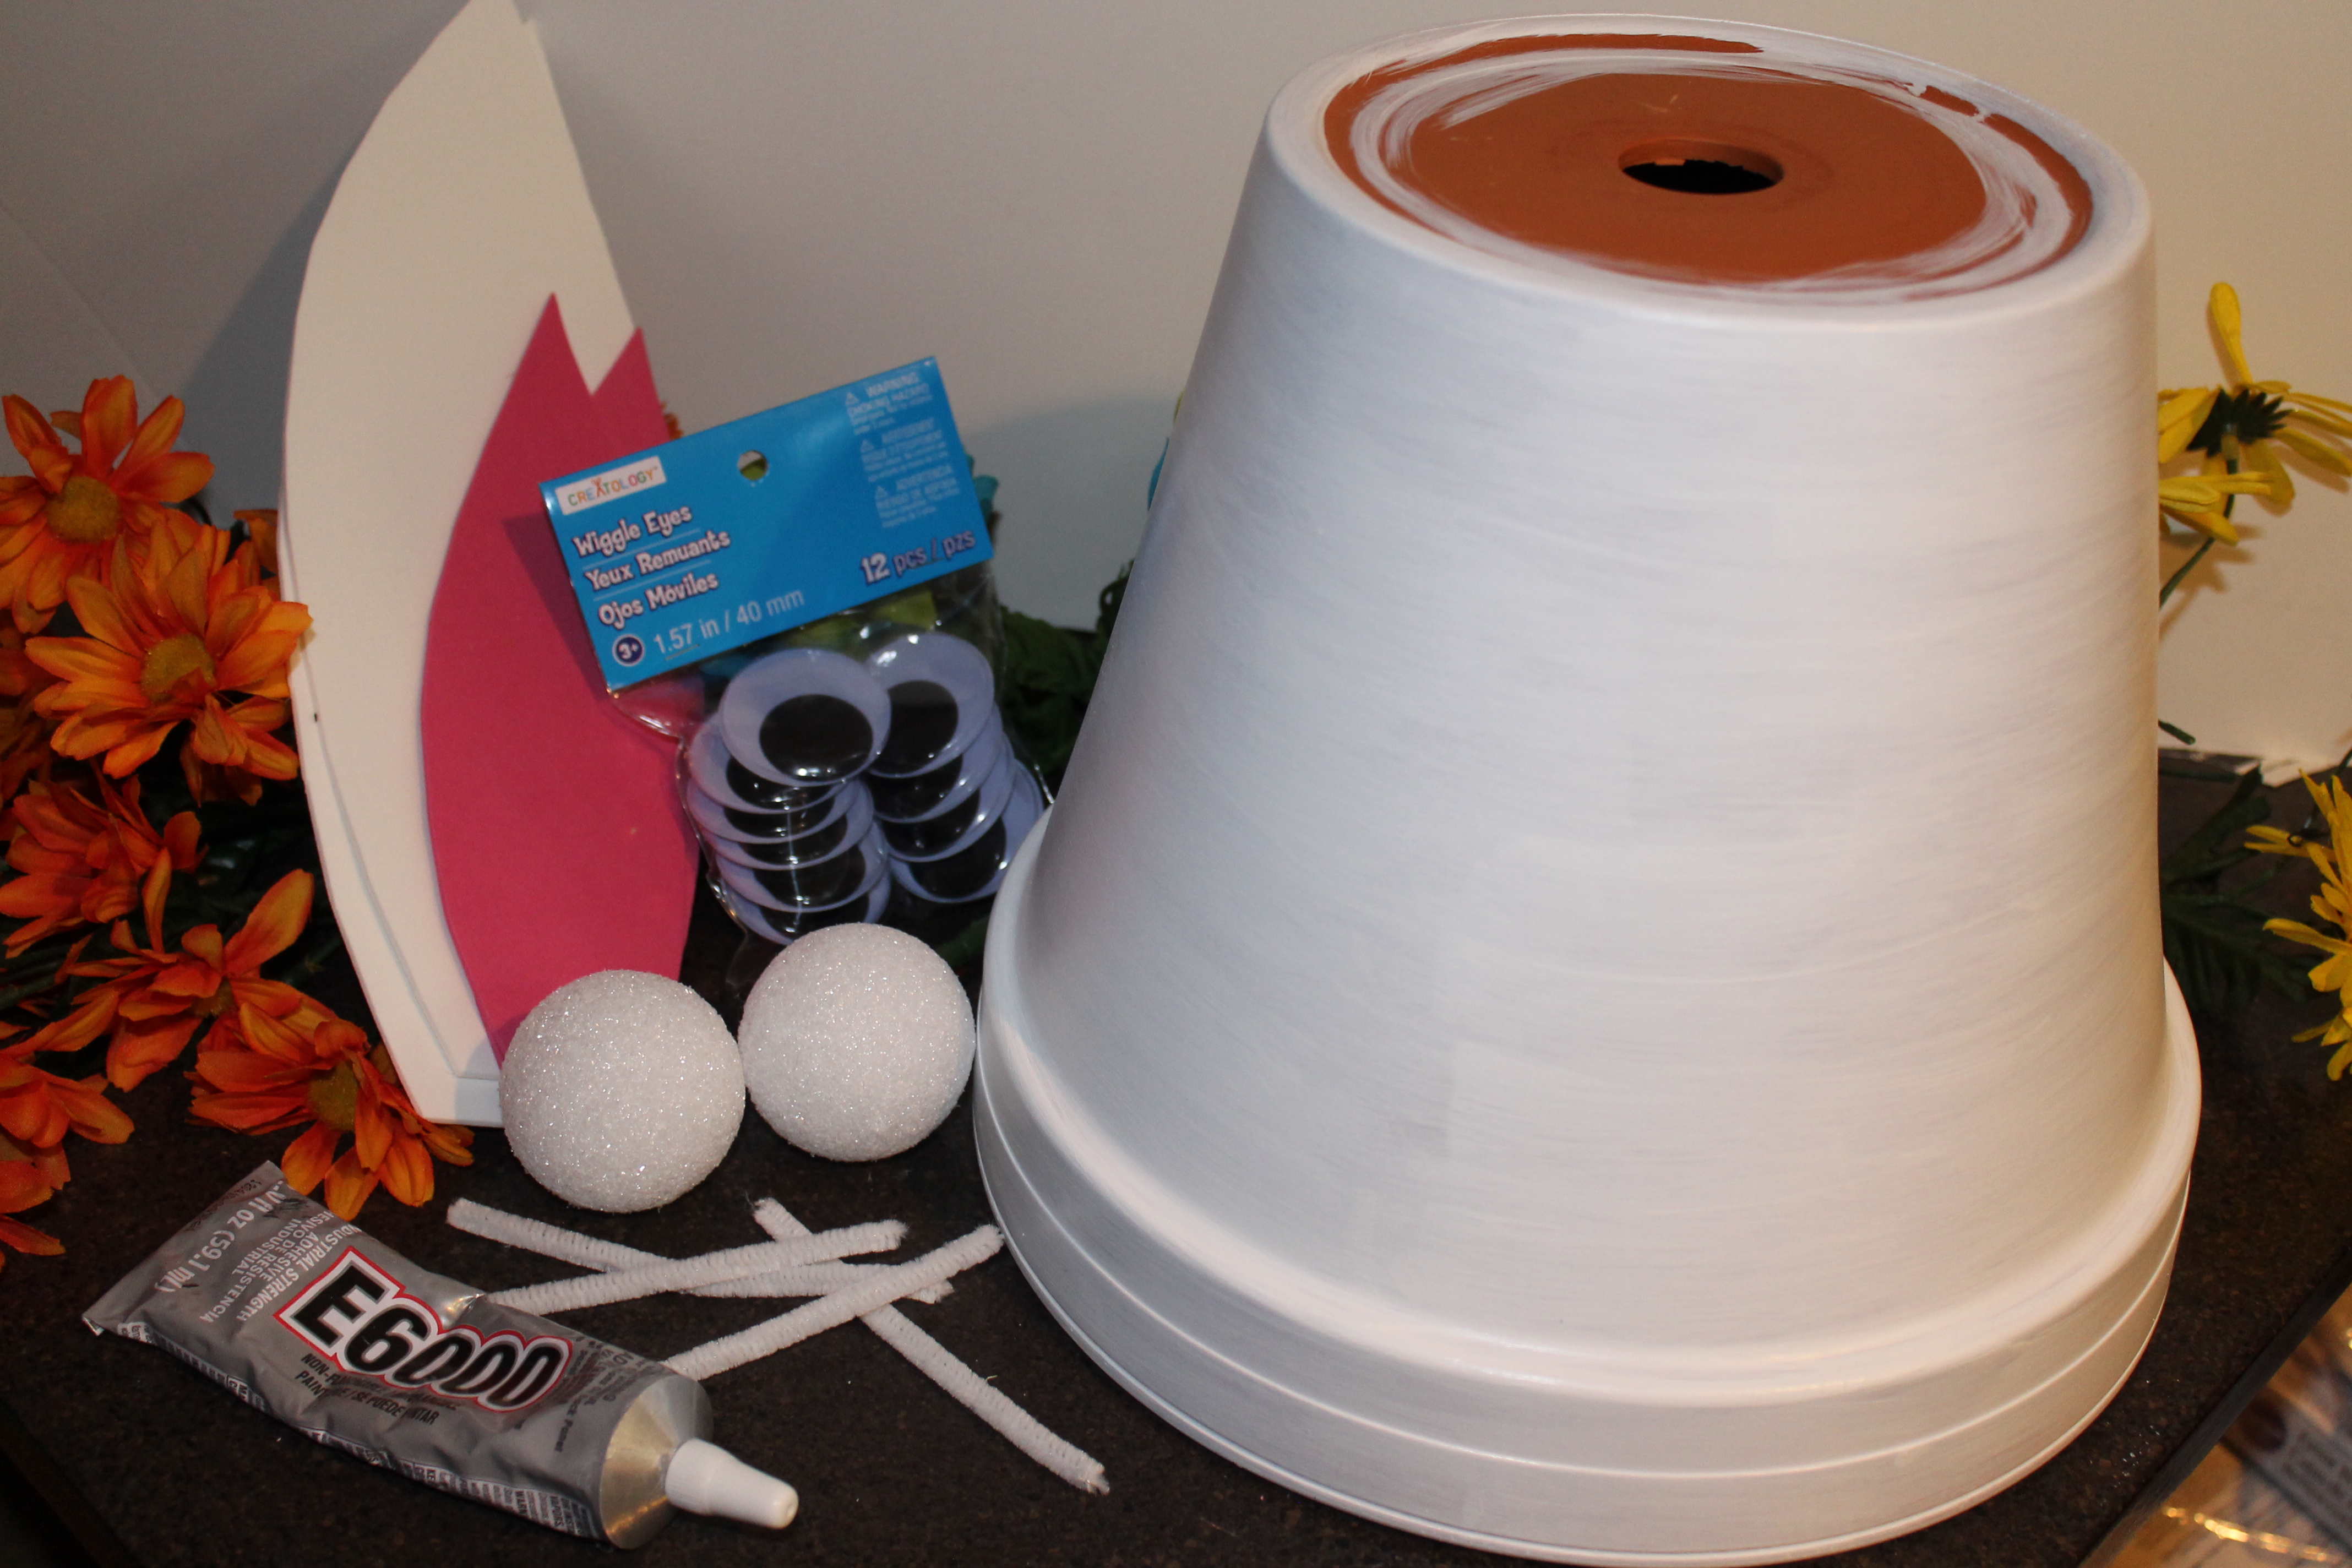
- Paint all of the clay pots white, except the 1” clay pot, paint it yellow.
- Let the pots dry at least 10 minutes, and then paint 2 more coats of patio paint on the pots letting them dry for 10 minutes in between coats.
- Place a line of E6000 glue on the bottom rim of the large clay pot and then a line of hot glue over it.
- Then place the bottom of the 8” clay pot on the bottom of the 10” clay pot.
- Let it dry for 24 hours.
- Next, place a line of hot glue on the edge of the open part of the 8” clay pot and place the straw hat on top so that it won’t fall off.
- Cut a slit in the side of the straw hat to stick the ears in it.
- Cut bunny ears out of the white fun foam and then cut smaller ears out of the pink for the inside of the white ears.
- Next, glue the pink to the white and cut the bottom of the ear at an angle, then stick it in the slit of the straw hat.
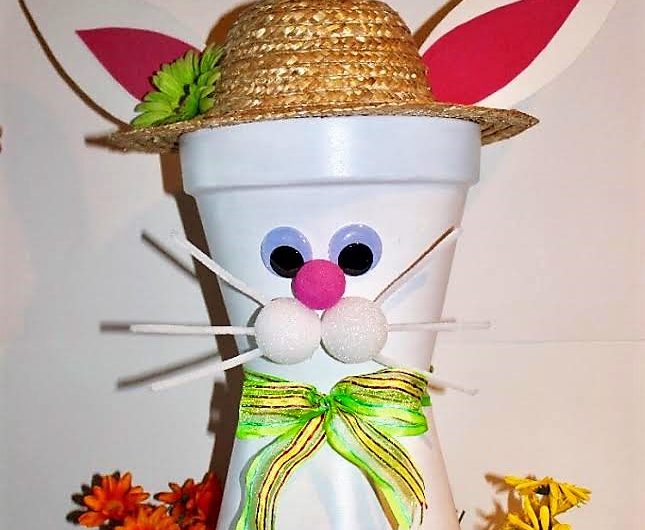
To Make The Face
- Now paint one of the small Styrofoam balls pink for the bunny nose and paint another small Styrofoam ball yellow for the chicks head.
- While these are drying, cut the white pipe cleaners to make the bunny whiskers.
- Also, cut the orange pipe cleaner to make the chicks beak.
- Stick the wiggle eyes to the top white clay pot and then glue the pink Styrofoam ball underneath the eyes for the nose.
- Then glue the 2” Styrofoam balls underneath the pink nose, these are the cheeks.
- Place the cut pipe cleaners into the cheeks for the whiskers.
For The Chicks
- Glue the yellow Styrofoam ball to the top of the yellow painted clay pot, this is the chicks head.
- Stick the orange pipe cleaner into the yellow head for the beak and then glue the smaller wiggle eyes to the head.
- You can create these fun creatures in any size pots that you would like.
- Next decorate the bunny with a ribbon bow around the neck and a flower on the hat.