New Year’s DIY Chalkboard Menu Board
Well, it’s here, the New Year has finally arrived, and what are you going to do about it. Well, my first New Years resolution is to eat better. And to do that I need a plan, so I created a New Year’s DIY Chalkboard Menu Board.
I know, I know, everyone wants to eat better, but for me, it is more about saving money then anything. My family eats out about 80% of our meals. I added this up and it came out to about $1400 a month, you read that right $1400 a Month.
Creating Resolutions for the New year
Creating resolutions for the new year has become the most talked about subject on every media outlet. I started planning what my New Year’s resolutions were going to be back in August, why, because I knew I needed some changes, but I was getting ready to come into my busiest time of the year. And I am glad I waited, it gave me time to really think about and do some research so that I wouldn’t be spinning my wheels when the new year came around.
After giving it a lot of thought, I came up with 3 resolutions, well, maybe 4. Eating better, saving money and what else did I want to change? Organization, that’s right, I am the most disorganized person I know, and with disorganization comes clutter, and with clutter comes stress. Yep, STRESS, it is my biggest resolution, to de-stress. Follow along as I stay on tract with these resolutions. I will share what I am doing to Eat Better, Save Money, Stay Organized and De-Stress. Can’t wait to hear what your resolution are and what you are doing to stick to them.
Create the New Year’s DIY Chalkboard Menu Board
Items Needed
Scrap Wood
Americana Chalkboard Paint
Sponge Brushes
Clips
Hot Glue
Chalk
Small Box
Decorative Ribbon or Paint
Paint Marker
Frame Hanger
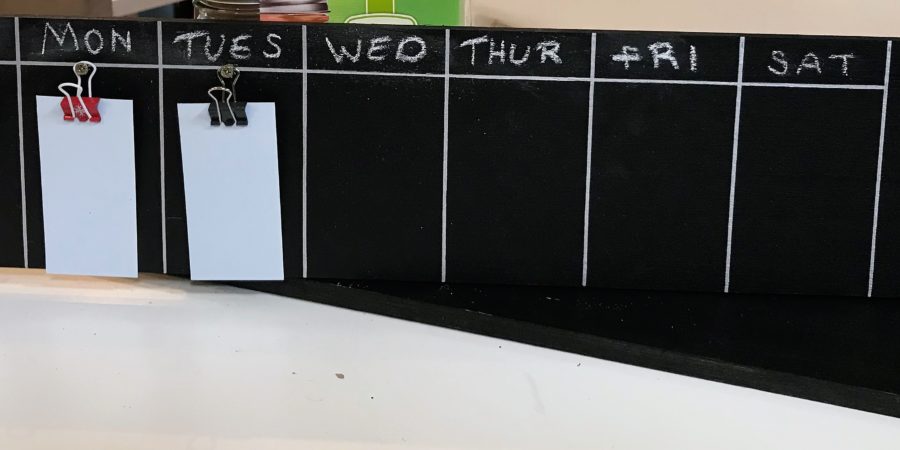
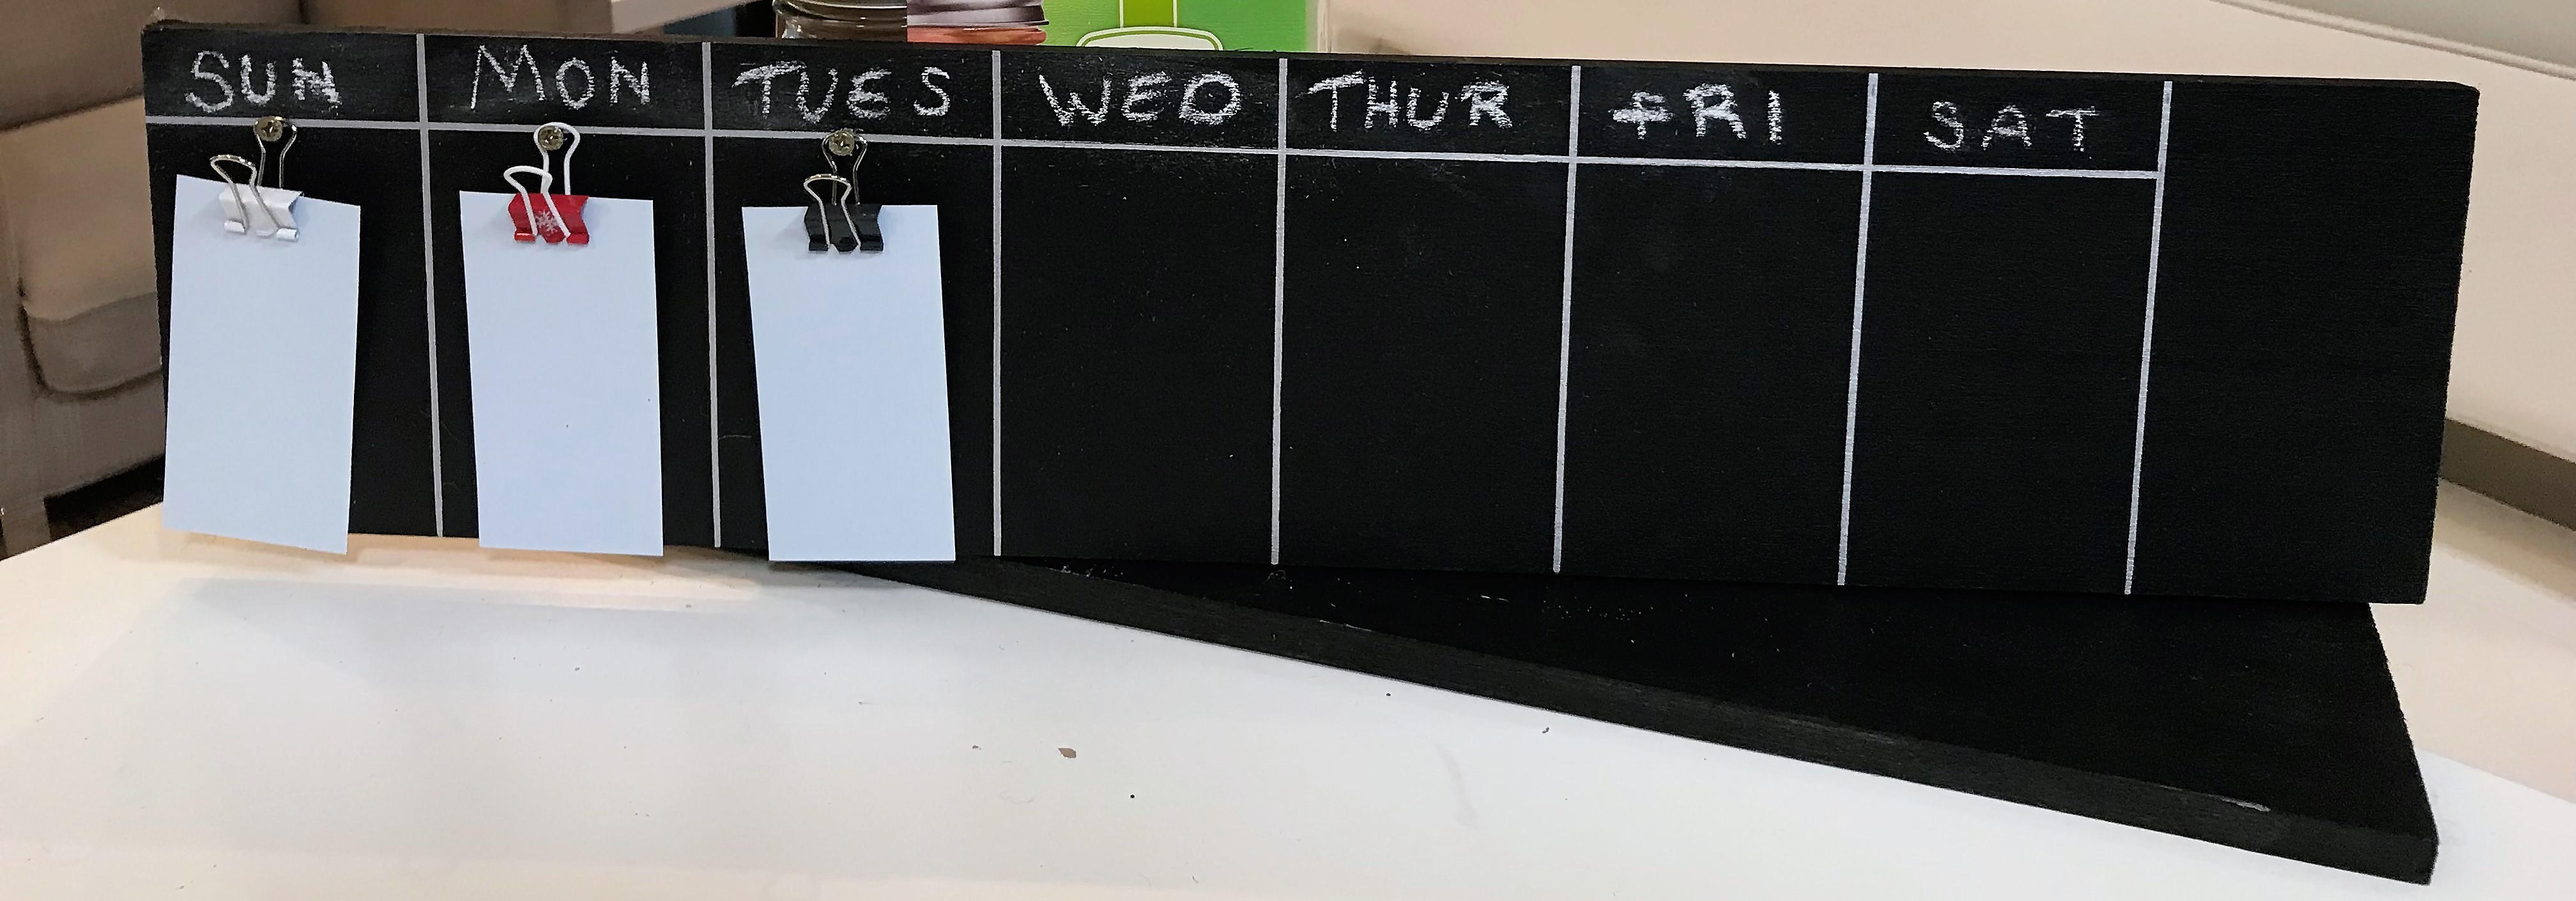
Cut your board to the size you want (Lowe’s will do this for you for free if you bought the wood there, or there may be a very minimal charge if you didn’t buy it there). You may want to sand any rough edges, or you can leave it for texture, it’s your choice. Place your frame hanger to the back of the board. Paint the front of the board with Chalkboard paint. Let it dry for 20 minutes, you will be adding 3-4 coats of paint, be sure to let it dry between coats. You can jazz up the board with some decorative trim or pretty color of paint, if you would like to.
Next, hot glue the clips in a row, I did all seven days, but you can do only five if you would like. Then using a paint marker, paint the days of the week over each clip. Hot glue the small box to the side of the board, if you want, to put small pieces of paper in it.
Money Saving Mason Jar
Items Needed
Mason Jars
Pipe Clamps
Screws
Scrap Wood
Americana Decorative Paint
Paint Markers
First you want to measure out where your jar will go for this project. Normally I am not a measuring gal, but for this project you do need to measure. After you have measured, paint the wood, or you could even stain it for a rustic look. After you paint it, you will screw the pipe clamp into place where your jar is going to go. Then write your saying on the board and add your jar. Great way for kids to save their change as well, so let them make one of these for themselves.