Use the Christmas Boxes for New Year’s Storage
Don’t throw those boxes away, use the Christmas boxes for New Year’s storage. My house is always filled with boxes right before and after Christmas. Whether they are left over from someone shipping something to me, or the remnants of the Christmas gifts being opened, I always have a bunch of different sized boxes taking up space in my house.
I hate throwing the Christmas boxes away, I never have enough room in my recycle bin and I just know I can use them for something. You know the saying, Reuse, Re-purpose, and Recycle. So, we will be reusing and re-purposing those boxes that you have left over in your home.
I created a few different New Year’s storage ideas with my boxes. The first decorative boxes I created were storage drawers for my shelves. You can really get creative with these, paint them to match the room they are going in, or paint them to match the toys or items that will be going in them.
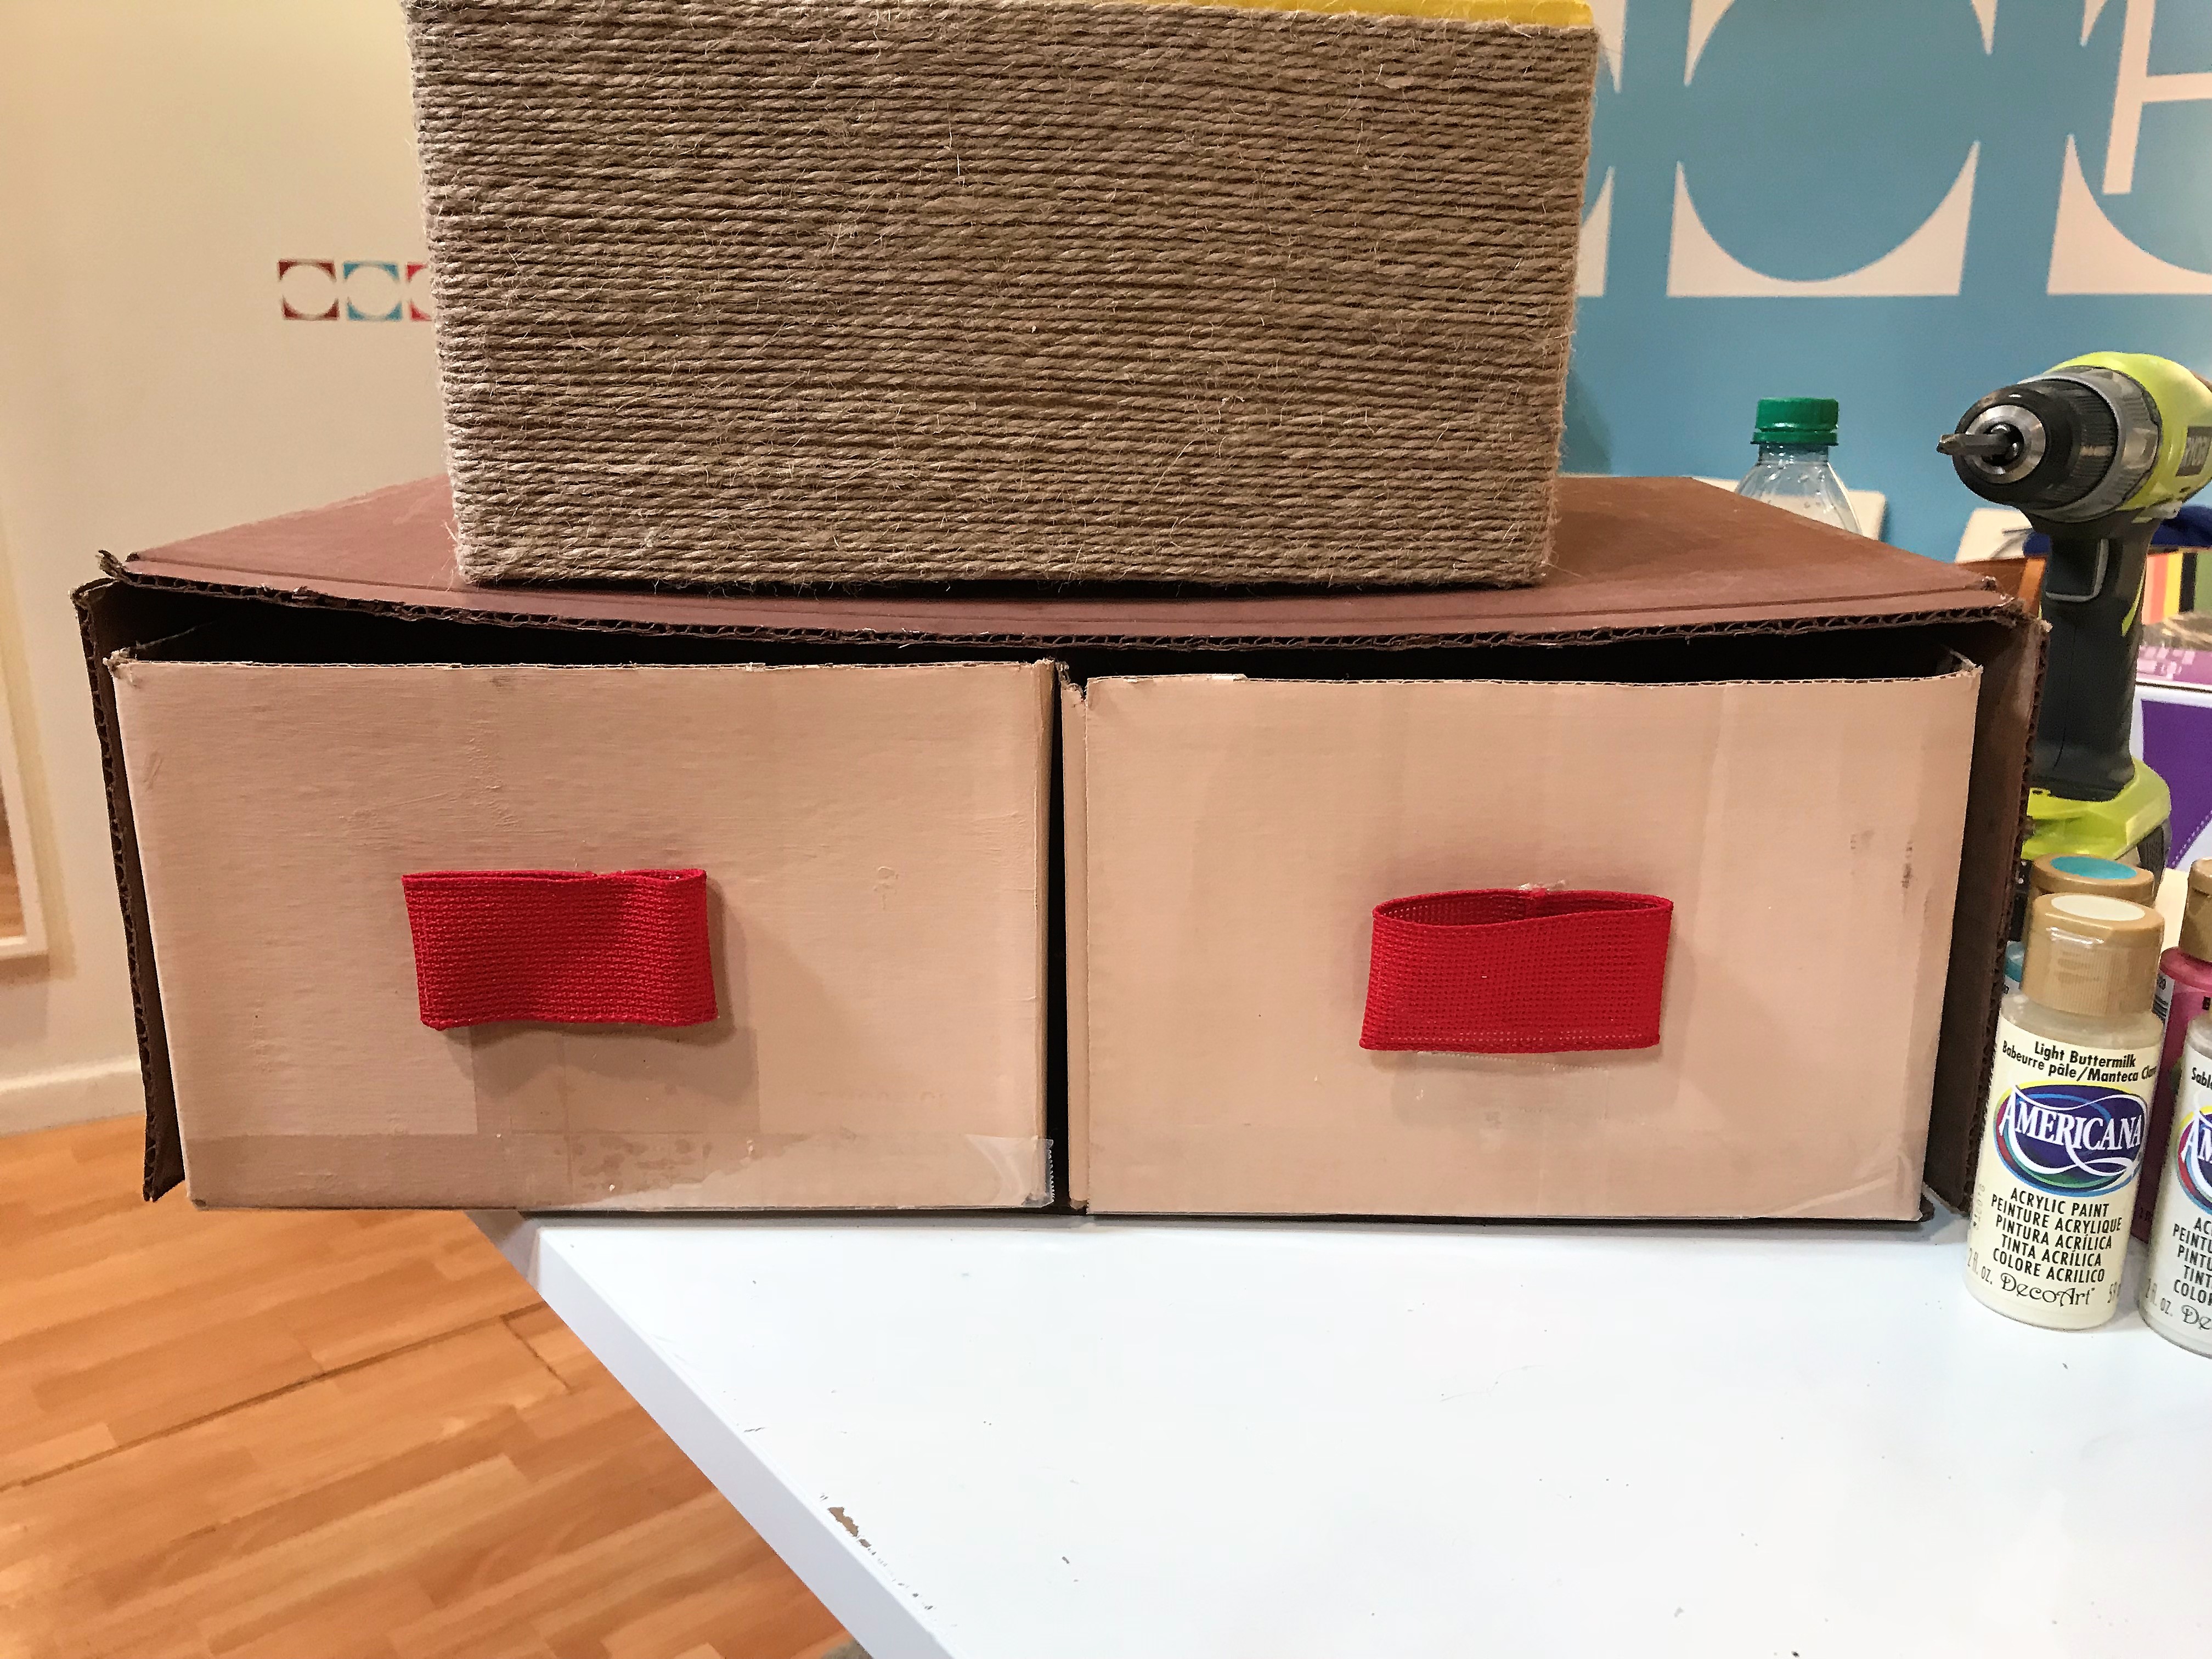
Storage Drawers with Boxes
Items Needed
1 Big box
2 smaller boxes that fit into the big box as drawers
Decorative ribbon or knobs
Americana Acrylic or Chalkboard paint
Sponge Brushes
Scissors, good ones
First, you want to cut all the cardboard that isn’t needed. You will need to cut the end of the big box off and the top of the 2 small boxes off. You may need to tape the flaps on ends that are left. Next, it’s time to paint, everything. Pick your colors and have fun, you may need 2 coats of paint so be sure to let it dry completely before adding the second coat. Now for the fun part, hot glue some pretty ribbon or knobs on to the fronts of the small boxes so you can pull them out of the bigger box to fill them with all the items needing to be stored. I made quite a few of these and use them in my craft room.
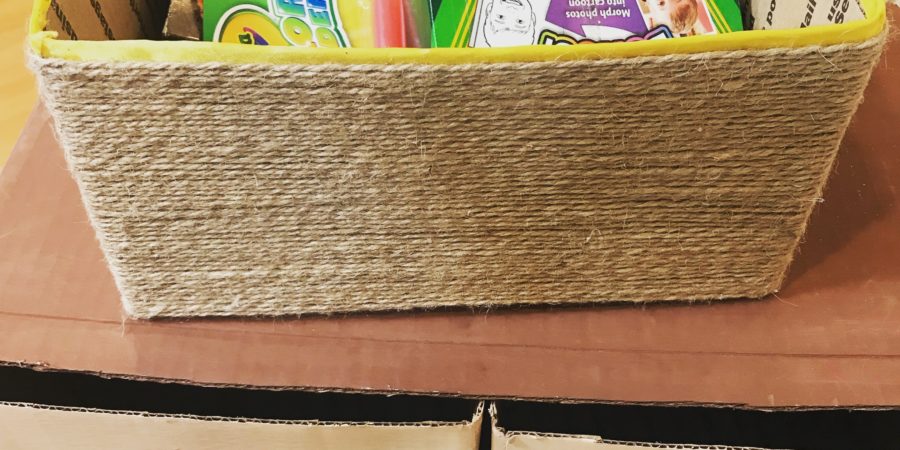
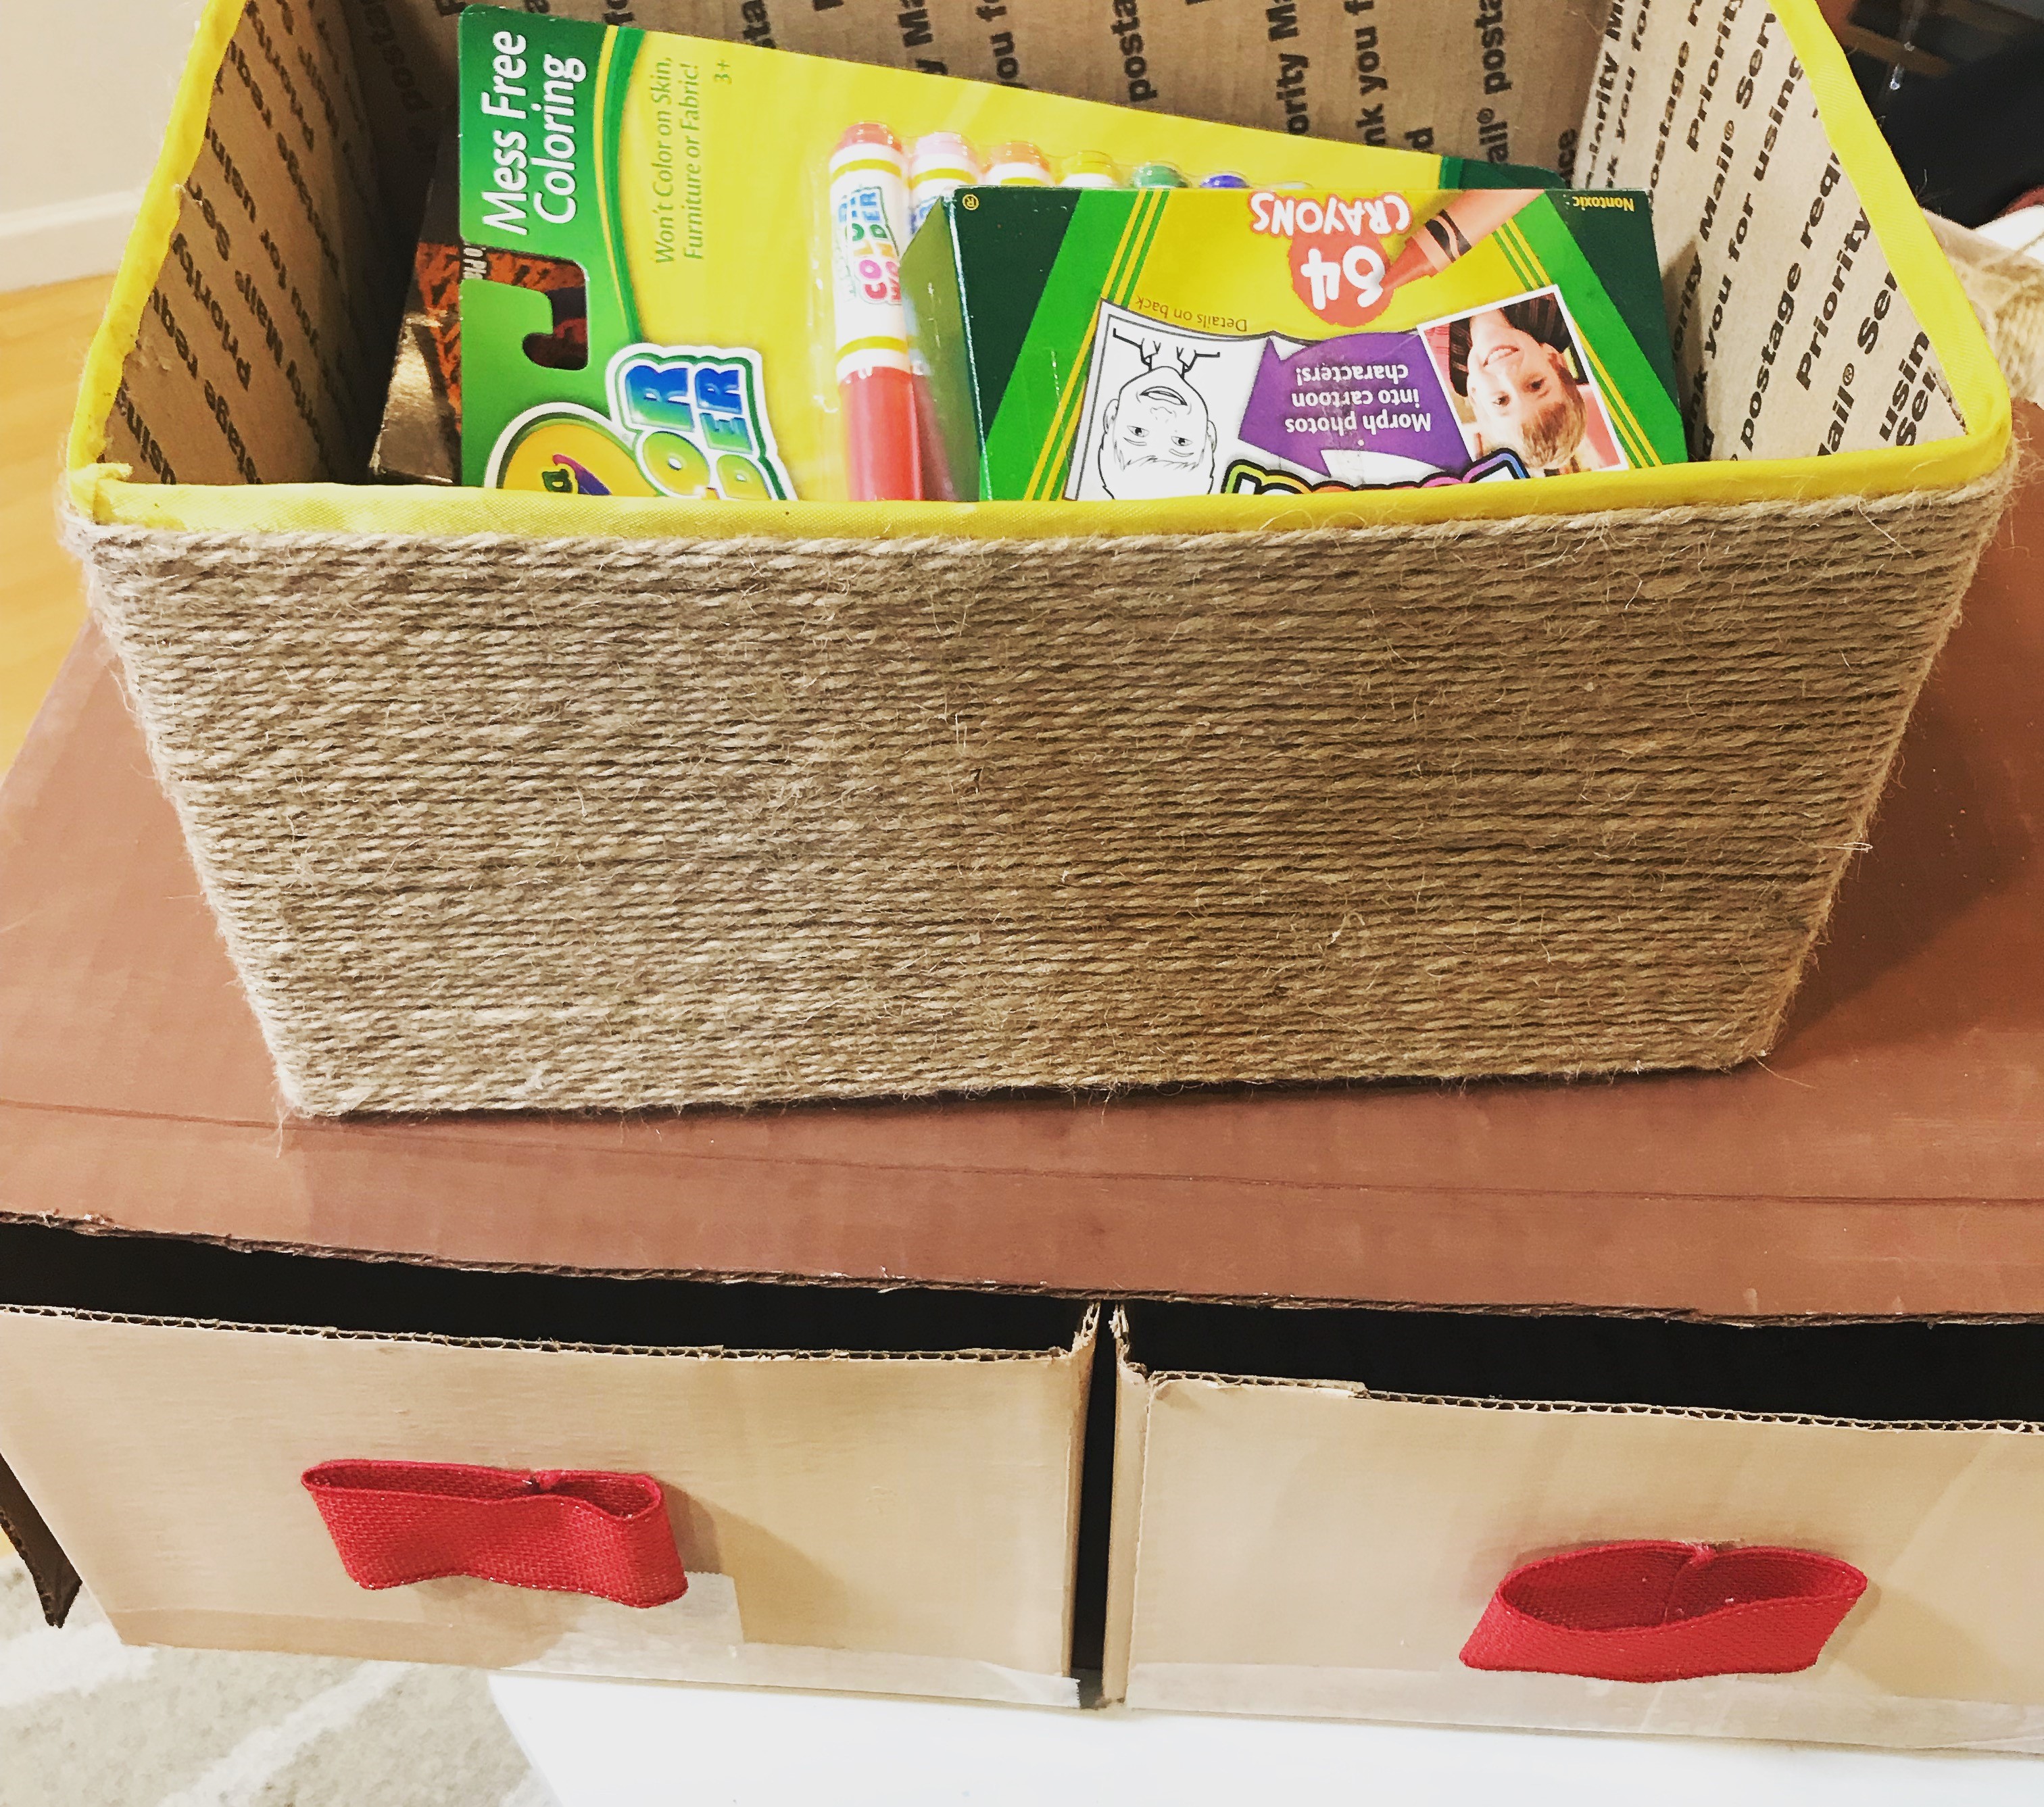
Another decorative storage idea I have is rope boxes, these take a little longer, but can go anywhere in our home because they turn out so beautiful.
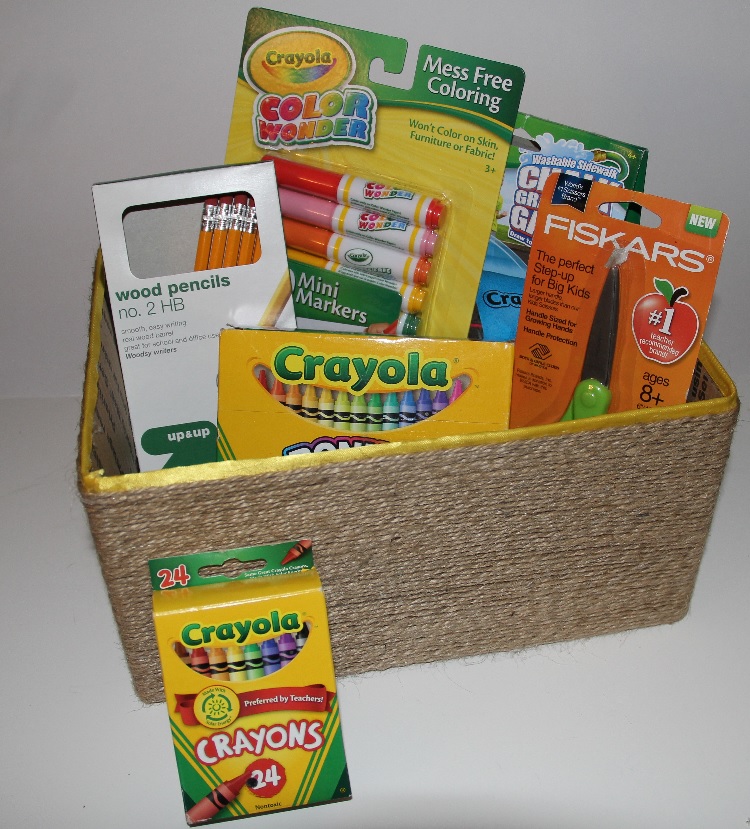
Decorative Rope Box
Items Needed
Twine or Hemp String
Hot Glue
Band-Aids
Box
First cut the top of the box off and tape the leftover flaps. Now for the “fun” part. Start hot gluing the string around the box. Be sure to put band aids on your fingers so you don’t get burnt when touching the hot glue while adding the string. This is lengthy but so worth it when it is done. To finish off the last piece of string, just fold it under when hot gluing it down.
The last decorative box idea is a tissue paper decoupaged box. How fun is this? I love to decoupage pretty much anything, and you can really have fun with this one. You can create a collage of the items going in the box by cutting out pictures from magazines or you can make them very pretty with some decorative tissue paper.
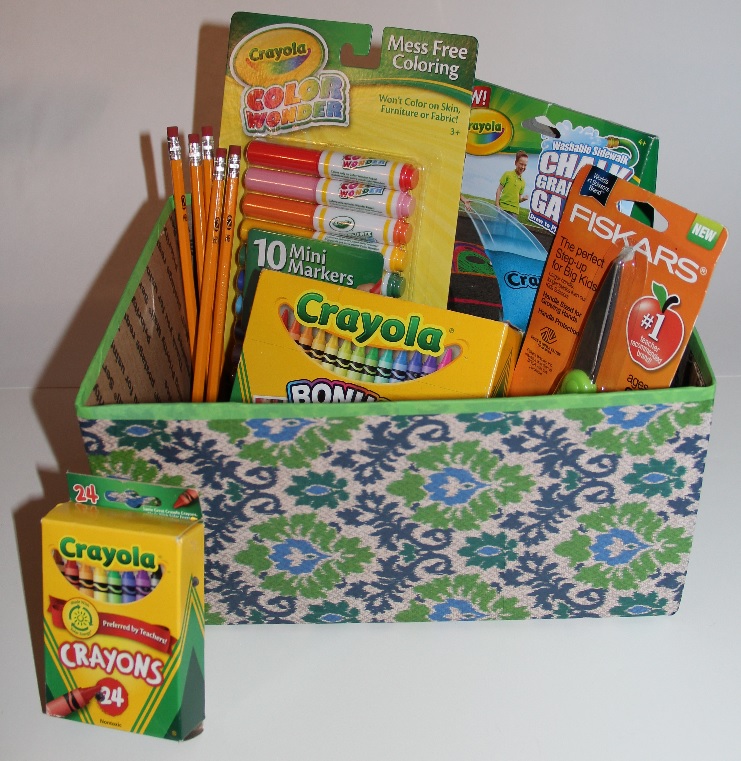
Decorative Decoupaged Boxes
Items Needed
Americana Decoupage
Tissue Paper or Decorative Paper
Sponge Brush
Decorative Ribbon
Just like the other boxes, you want to first cut the top of the box off and tape the leftover flaps. When decoupaging, you do a little at a time. Using the sponge brush, put a little decoupage on the box and then place the tissue paper on top of it. You may need to add a little decoupage to the top of the paper too. After you finish covering the whole box, add some decorative ribbon to the top with hot glue and start organizing.
ab53a2b1b364cd02d7d2d78d9a4e80e42e0bb881b54927e3fd