
The best way to organize for back to school is to get the kids involved and excited about going back to school. If you have kids going back to college, it can really help save money, especially when everything else costs so much this time of the year.
Let The Kids Create Their Best Way To Organize For Back To School
Let the kids pick out their own colors of paints and papers and strings and anything else they want to add to the organizers, watching them get creative is the best part of these projects.
Supervise When Using The Glue Gun
You may want to supervise the little ones when it comes to using the glue gun. Be sure to use my Band-aid tip. Stick a Band-aid on the finger that the kiddos will be using to press down where the hot glue is. This project definitely falls under the best way to organize for back to school.
Creating The Back To School DIY Organizing Decorative Calendar
- Wood box (can be found at most craft stores)
- Americana Acrylic paint (I used gold and Indian Turquoise)
- Americana Decou Page
- Sponge brush
- Scrapbook paper
- Paper cutter
- Stickers with letters and numbers (they must fit the tags)
- Small hooks
- Drill
Directions
- Paint the outside of the box and edges of the box with your main color, let it dry at least 10 minutes and add another coat if needed.
- Next, paint the inside of the box and edges with your accent color, let dry and add another coat if needed.
- Cut the scrapbook paper to fit inside of the box and adhere it with the Decou Page by painting a coat of the Decou Page onto the wood and place the paper over it, press down to secure it.
- I didn’t paint a coat of Decou Page on the top of the paper, but you can.
- Measure where you want the tags to go and drill 3 holes to place the 3 hooks that will hold the tags.
- You can use plain tags or glitter them up if you would like to, I found tags that were already glittered, yay me…
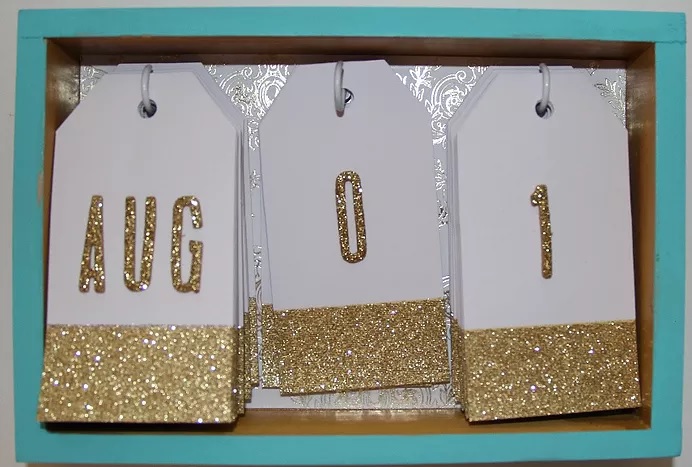
- Place the letter stickers and the number stickers onto the tags to represent the months and days of the year. I abbreviated the months so that they would fit and look nice.
- Place the tags on the hooks and enjoy, you can also add a frame hanger to the back if they want to hang this fun and easy to create calendar on the wall.
Creating The Back To School Wall Hanging Circles And Squares
- Wood squares and circles (Found at most craft stores)
- Americana Acrylic Paint, let the kids pick the colors (I used Festive Green and Ultramarine Blue)
- Americana Decou Page
- Cork sheets
- Scrapbook paper
- Hot glue gun and sticks
- Sponge brushes
- Tacks
- Hooks
- Drill
Directions
- Paint the wood squares and circles with the colors of your choice.
- Let it dry at least 10 minutes and add another coat if needed.
- For the squares, you can add a decorative touch with scrapbook paper.
- Cut a piece of scrapbook paper to fit onto the front of the wood.
- Paint a layer of Decou page onto the wood then place the paper onto the wood.
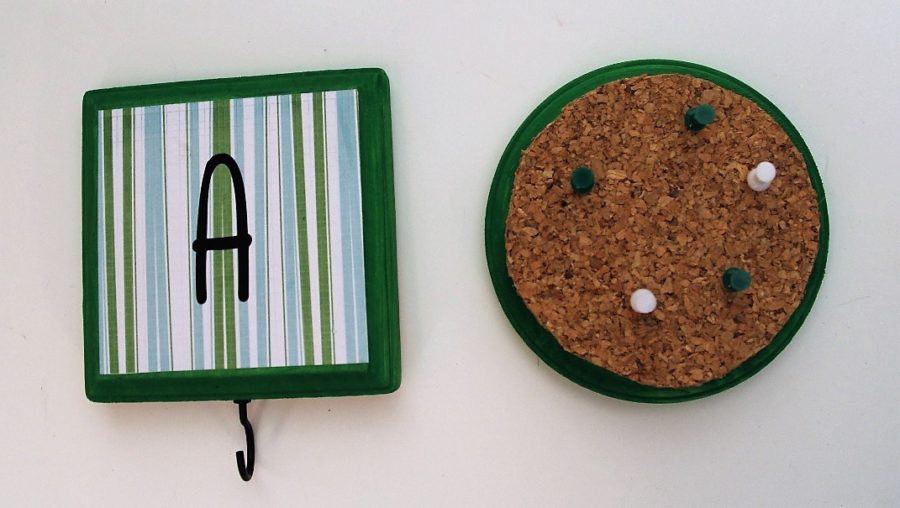
- Add a letter sticker to the front and a hook to the bottom of the square.
- To create the cork circle, cut the cork sheet to fit the front of the circle.
- Hot glue it to the the piece of wood.
- You can also add a framing mount to the back of the circle and square to hang them on the wall.
- Use tacks and hooks to keep notes on the cork boards.
Related – DIY Back To School
Creating The DIY Back To School Organizing Box
- Empty box (any size will work)
- Hot glue gun and sticks
- Glue dots
- Twine
- Americana paint, I used chalkboard paint, but you can use any color and type
- Sponge brush
- Ribbon
- Decorative tape
- Americana Decou Page paper
Directions
- First cut the top of the box off, I cut the big part off, but you can choose which side you would like the opening to be.
- Next, paint the whole outside of the box with your choice of paint color.
- Let it dry completely, you will only need one coat.
- Place 3 glue dots on each side of the box at the bottom.
- This is just to get the string started, you will use the hot glue for the remainder of the project.
- Wrap the twine around the box, be sure to press it into the glue dot to hold it in place.
- Once you have covered the glue dot completely, you should be able to wrap the box 3-4 times with one layer of glue dots, start using the hot glue.
- You won’t need much hot glue, just a thin line on each side in the middle, as you go.
- Once you get close to the top of the box, stop putting the twine.
- Hot glue a strip of ribbon along the outside of the box and then fold it over to the inside of the box, this will leave a nice finish on the box.
- Finish placing the twine around the box until you reach the ribbon.
- Be sure to add hot glue to the corners of the box on your last round of twine, this will help keep it in place.
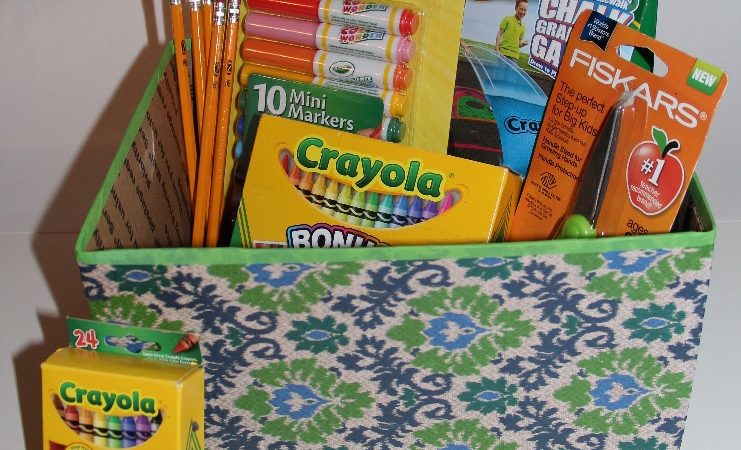
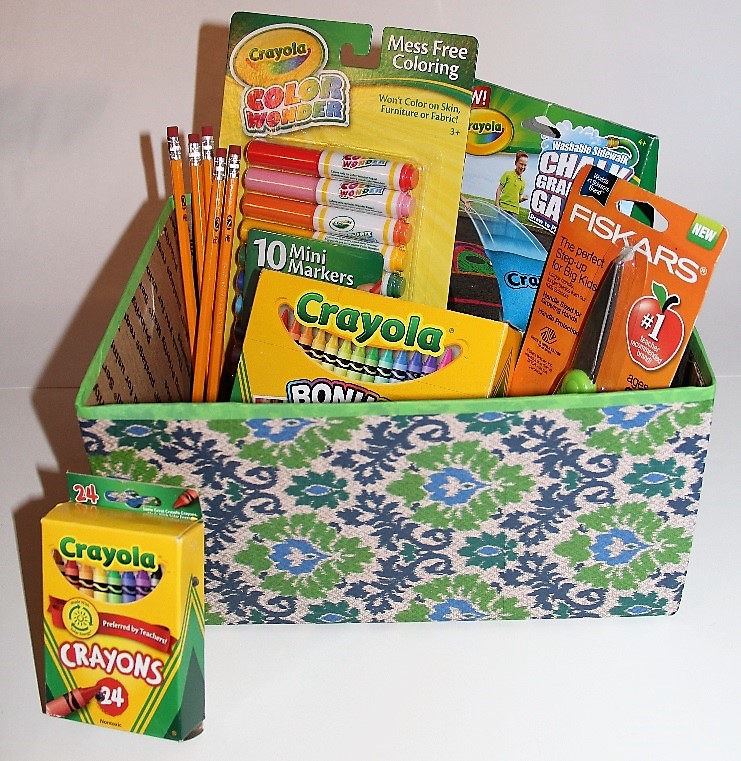
- Fill the box with all of the school supplies to keep them organized at home or if your kid is going off to college.
- They can use these boxes to keep their dorm room clean and organized with a fun personal touch.
Related – Back to school tips for students, parents, and teachers (assignmenthelp4me.com)
Other Ways To Create The Best Way To Organize For Back To School
You can also decorate the same boxes with the Americana Decou Page paper and Decou Page. Just cut the paper to the size of the outside of the box and brush a layer of Decou Page onto the side of the box, be sure to only do one side at a time.
Press the paper onto the Decou Page and smooth it out. Do all of the sides and finish off the top of the box using the decorative tape.